In my last post, I mentioned I was going to try and join the phase 1 group on Saturday and/or Sunday to stitch on my own piece. I'm happy to say I was able to join both days.

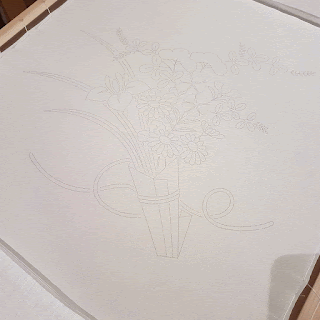
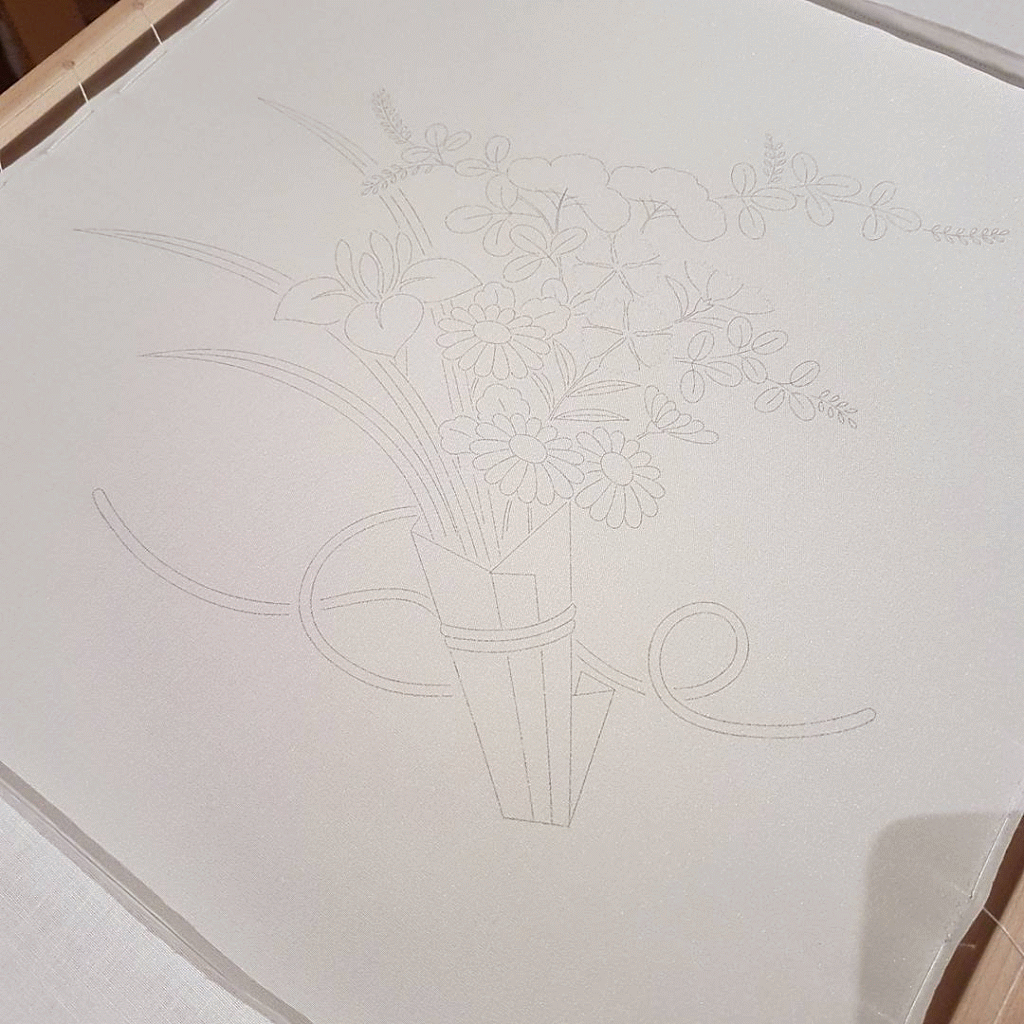
I spent all of Saturday hunched down over my piece doing stitching stems and veins. Taking occasional breaks to watch a demonstration.

On Sunday morning, one of the ladies asked the teacher if she will cover the finishing process in the class. Normally, this is done in a purely verbal fashion as no one has a finished piece available for a demonstration. However, seeing as I was so close to the end, someone jokingly said something along the lines of "well if Dima finishes her piece today, we can have a demo".

As I only had the upper two branches, the valerian stems and some veins left to do, I was game to try and finish it. So I put blinders on and got to it. I was actually quite happy to offer it up for demonstration purposes as I was dreading this part a tiny bit.

The finishing process has many steps like doing a final inspection of the piece to make sure nothing was forgotten and cleaning it of all dusts (it has been on the frame for almost two years). These are normal steps to be expected. What's not is using paste at the back. Below you see wheat paste that our teacher cooked in the microwave.

With a pinkie finger, this paste is applied to the back of the embroidery.

The piece is then wiped at the back with a damp cloth. Now comes the fun (and scary part). You get a very hot iron, place a wet cloth on it and use it to steam the piece from below. It was cool to see the steam rising from the piece.
(click on the post to see the video below)
I had to leave my piece at my friend's to dry overnight and went to pick it up yesterday. I'm hoping to go to the framer this weekend to pick out a frame. It will be a while before I can share final pictures as I'll need to stretch it on foam core and bring it back to the shop for the final framing.
I made an animation of the piece as it progressed. If you're interested in statistics, here is some data: I started on October 26, 2017 and finished April 14, 2019. It took 176.25 hours over a period of 43 days to stitch. This includes unpicking and redoing a few elements like the cords.
(click on the post to see the animation below)

I spent all of Saturday hunched down over my piece doing stitching stems and veins. Taking occasional breaks to watch a demonstration.

On Sunday morning, one of the ladies asked the teacher if she will cover the finishing process in the class. Normally, this is done in a purely verbal fashion as no one has a finished piece available for a demonstration. However, seeing as I was so close to the end, someone jokingly said something along the lines of "well if Dima finishes her piece today, we can have a demo".

As I only had the upper two branches, the valerian stems and some veins left to do, I was game to try and finish it. So I put blinders on and got to it. I was actually quite happy to offer it up for demonstration purposes as I was dreading this part a tiny bit.


With a pinkie finger, this paste is applied to the back of the embroidery.

The piece is then wiped at the back with a damp cloth. Now comes the fun (and scary part). You get a very hot iron, place a wet cloth on it and use it to steam the piece from below. It was cool to see the steam rising from the piece.
(click on the post to see the video below)
I had to leave my piece at my friend's to dry overnight and went to pick it up yesterday. I'm hoping to go to the framer this weekend to pick out a frame. It will be a while before I can share final pictures as I'll need to stretch it on foam core and bring it back to the shop for the final framing.
I made an animation of the piece as it progressed. If you're interested in statistics, here is some data: I started on October 26, 2017 and finished April 14, 2019. It took 176.25 hours over a period of 43 days to stitch. This includes unpicking and redoing a few elements like the cords.
(click on the post to see the animation below)
This is gorgeous! I know you are so please to have it finished. How lucky that your piece was the demo! I think it would be quite scary to do this on your own for the first time. Fabulous!
ReplyDeleteThis is so beautiful. Was that rice paste you used? I've used rice paste on the back of the rozashi pieces I stitched. Love the "starched" effect. Even used it on the back of a hardanger bookmark. Will experiment further on pieces that would benefit from a little stiffener. Looking forward to seeing more on the fan.
ReplyDeleteWell done! And especially for getting it done in time to be the demonstration piece!
ReplyDeleteBeautiful ....
ReplyDeleteLove your finished piece. Great stitching. So serendipitous that your piece was available to demonstrate the finishing technique. I always preferred Hanazume but seeing your Bouquet from the Heart of Japan might have to change my mind!
ReplyDeleteBeautiful Dima! Well done on such a tremendous effort. The finishing of it sounds slightly terrifying with glue and irons! This is such an exacting style of embroidery and you seem to really be in your element with it.
ReplyDeleteWow, I bet you were glad the teacher demonstrated the hot iron part! That looks scary to me.
ReplyDeleteIt's so interesting to read about the whole process and see the photos too.
Ooooh! What an amazing finish, and an interesting finishing procedure too! I'm so proud of you for getting it done in class, you must have used your speedy needles!
ReplyDelete