Showing posts with label Phase 5. Show all posts

Wednesday, April 26, 2023

Himotaba - Update

 It's nearing the end of the month and I figure I should post something besides the TUSAL report. 

Since last posting Himotaba, a lot has happened. I'd been trying to stitch on Eternal Grace, but was really struggling. I decided to put her on hold and concentrate on completing the cords, as that would have been the correct order. I brought my piece to Margaret for extra guidance and we went through it cord by cord. 

I learned a better way to taper cord padding, so it and the stitching over it came out and was redone. This tapering technique will be useful for goldwork and English whitework.


Made an excellent attempt at the imitation wicker effect, realized that I used the wrong gold. I meant to use the white gold, so it had to come out.


Made multiple attempts at the single central braid in both twisted and flat silk. I knew exactly what needed to be done but could not get it to work. I finally had to sit down and just do it as best as I could. Whatever I did will just have to be good enough. 


I guess it worked because I got a "looks good" from Margaret and was finally able to move on. I guess I just needed to loosen up. Funnily enough, the double central braid was so much easier to do than the single central braid.


The wicker effect (in wheat) was also re-stitched. Margaret's method gives a nicer "raised" effect. The last bit I did this weekend was restart the single central braid with the flat silk. Again, it's not perfect but at least it looks pretty.

At this point, the only cords that haven't been re-touched are the imitation wicker in flat silk, rein effect and double central braid in twisted silk. We have a class in less than two weeks, I need to at least re-attempt the double central braid in twisted silk to get some feedback. The twist in that one is a little tricky.

Saturday, December 24, 2022

Himotaba - Class

Now that my prep work is done and my colors were "selected", it's finally time to start stitching. Here's a drawing showing where I plan to have each color.

There are eight cords in this piece:

  1. Double central braid in flat silk
  2. Imitation wicker in twisted silk
  3. Single central braid in twisted silk (2-color transition)
  4. (real) Wicker in flat silk
  5. Single central braid in flat silk
  6. Imitation wicker in flat silk
  7. Rein effect in twisted silk over couched gold
  8. Double central braid in twisted silk transitioning into metal thread

As this is a study piece, it contains one of every type of cord. However, you'll notice some cords are repeated. This is so we can experience stitching the cord using both a flat and twisted thread. Not only will the effect look different, but the stitching process will feel different. 

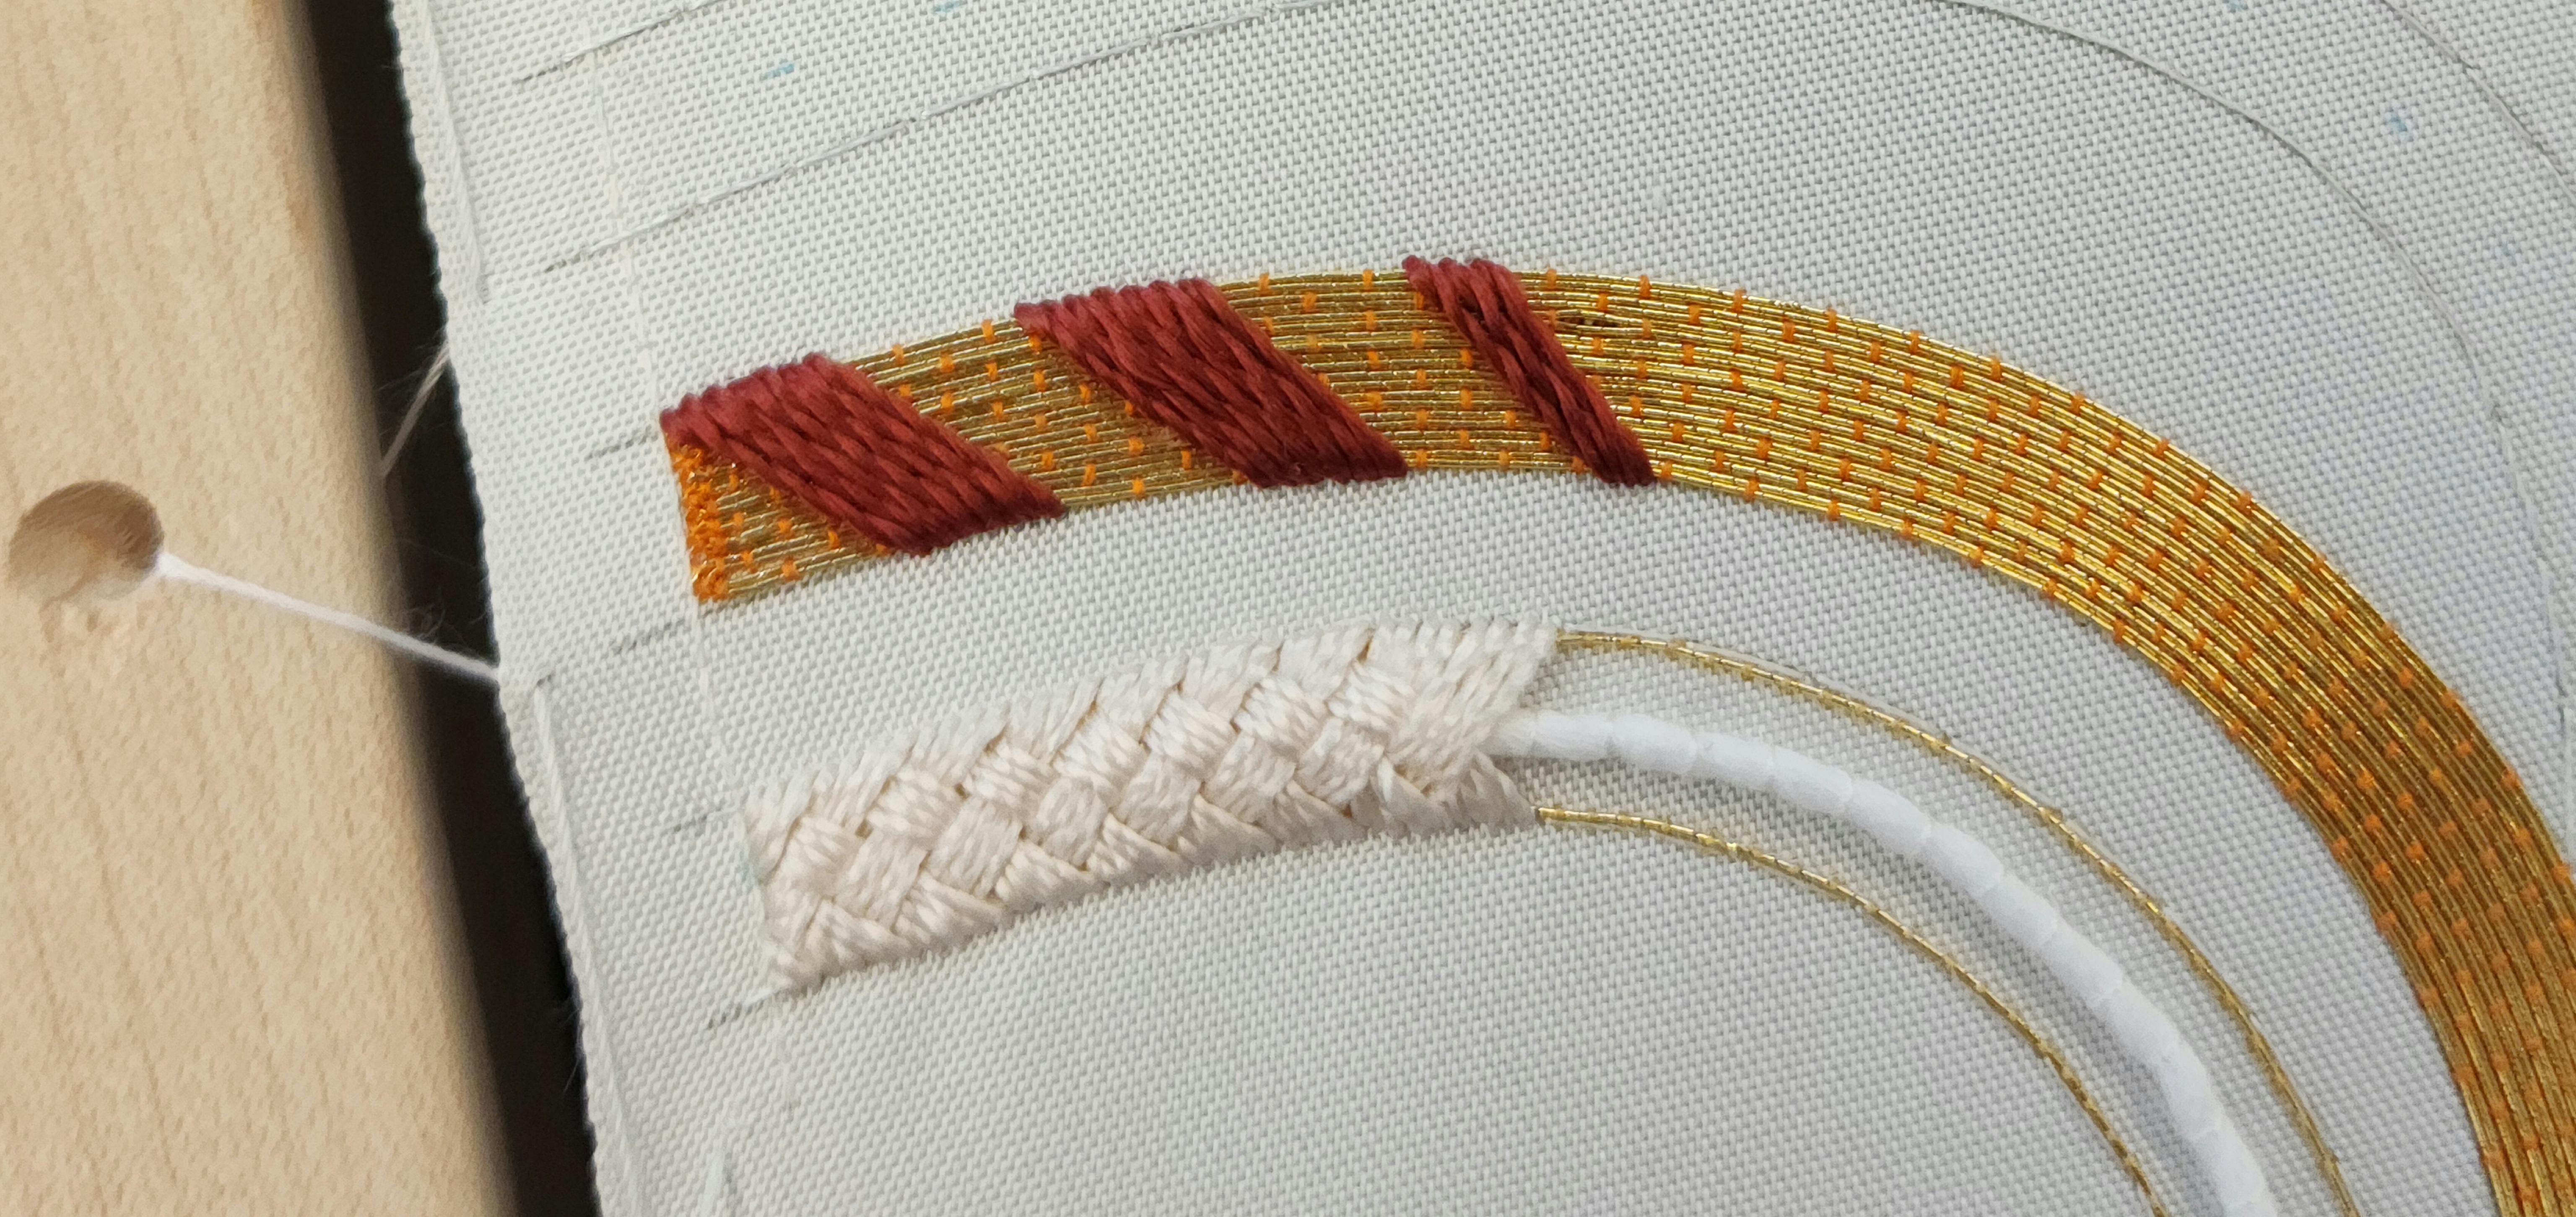
The cords are stitched using the same foreground to background rule we always follow, ensuring we can leave a one point open space. This means the first cord to be stitched is cord #2, called imitation wicker. Since it's twisted thread, the stitching goes really fast. The slow part is those lambda's that go on top. We're meant to stitch it using gold thread, but for the purpose of learning the steps and right angles we used orange couching silk.


The second cord to stitch is another twisted thread, the single central braid (cord #3). This one isn't new, it's the same braid that is found on Hiogi. It looks so pretty in pink!


Once we got to the third and fourth cord, I decided I needed some bling. I mixed in some gold (minus the core) with the wheat and red cord. It gives off just the hint of sparkle between the sugas. Cord #4 gave me some trouble as I needed to stitch backwards and the angle was just so awkward. Cord #5 is another single central braid but with flat silk. That gold gives it almost a brushed paint look that is just perfect.


We skipped over cord #6 as it's the same technique as cord #2 but with flat silk. Instead we covered the last two cords. The rein effect (cord #7) is stitched over a foundation of couched gold using twisted thread. The idea is to make seven stitches and then skip seven stitches worth of space before starting the next stripe. Angle and spacing is very important, as always. The last cord #8 is a double central braid. It's the same cord as the very first one done in flat, but our teacher wanted to make sure we did the twisted version to ensure we understood the tightness of the twist. Although I'm a tight stitcher, it seems I'm not a tight twister. I had to do a few attempts before I got the right tension.


After class, I attempted the flat silk version at home. It has it's own complications, getting the silk nice and flat, and shiny.


I sadly had to put my piece aside. The picture below is from November 20 when I last worked on it. I only had one reel of silk per color, most of them opened reels. By the time I got to where I was, my pink was gone and I was almost out of red.


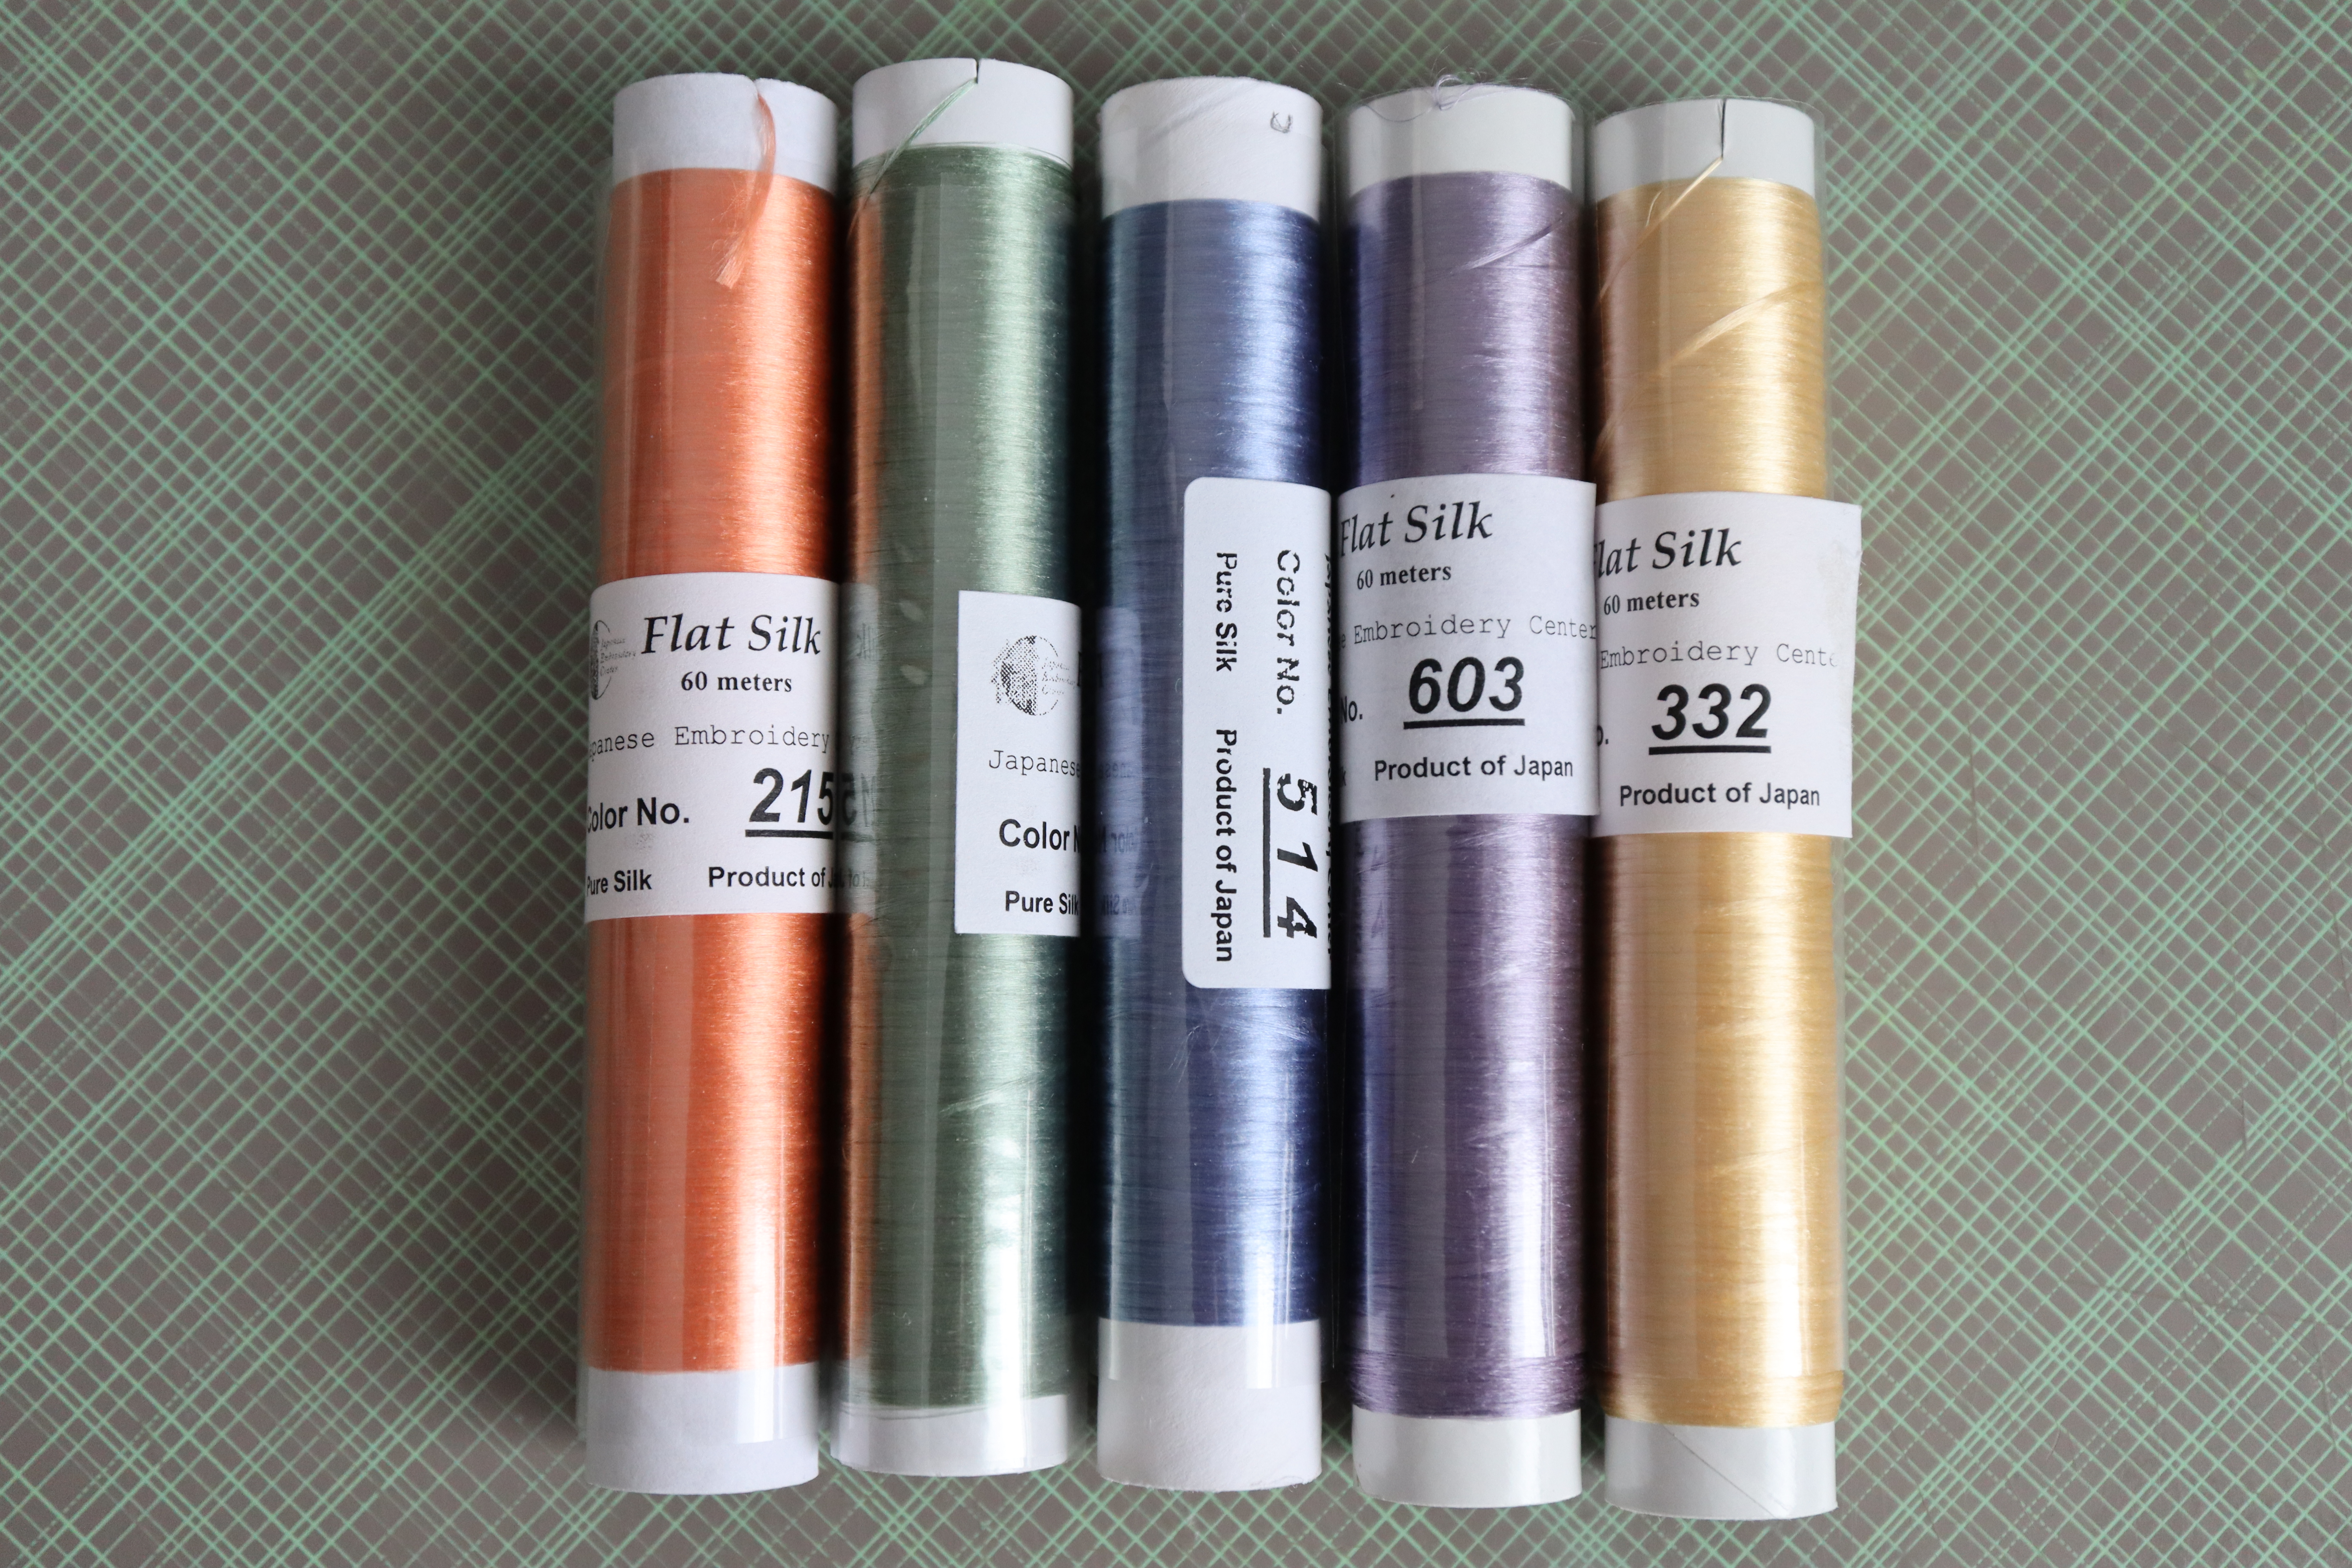
My stitching mojo has been in limbo since then. Luckily, I just received my order from the Japanese Embroidery Center. Right on time too as the holidays are coming up and I'll be starting my annual two weeks stitching retreat. I'm going to mainly spend my time on Himotaba and hopefully Eternal Grace as well. I also need to start planning next year's objectives. I usually start a new piece on January 1st but I have no idea what I want to pull from my stash. I'll have a look through my horde.

Thursday, December 22, 2022

Himotaba - Color Palette

If you've been following along for a while, you know color is my weak point. This piece was actually supposed to be treated as an etude and I wasn't planning on spending too much time thinking of color. Just use whatever is suggested by the JEC and be done with it. Here are where the problems start, there are two versions of Himotaba: a standard one and an extended version.


I don't know about you but I find that stubby tassel really ugly, so I went with the extended version. More stitching to do but it will be worth it as the design feels more balanced. You'll notice that the extended version doesn't have a colored image even, thought they do have a suggested list of silks for it. I looked at the colors and it looked nice enough. Many of the colors are even used in Hiogi and my version of Eternal Grace, so I figured why not. Until I received the silks.

Although the colors look nice individually, once you put them together... my biggest issue is that orange. It's way too light, considering it's used for three cords. Place it next to the green and it becomes muddy. Then started my nightmare of having to pick colors

As you can see from the animation, I went through several iterations. Using my tablet to color the cords really helped me out in trying to visualize how it would look. There were a few conditions I needed to follow when picking colors:

  • I needed two contrasting colors to make a transition (3rd cord from the top), usually from dark to light
  • I needed another color transition, this time silk to metal (last cord)
  • the rein effect cord (2nd to last cord) is usually done in red over a foundation of couched gold. This could also be a foundation of couched silver and a different color would then be selected
  • this was a recommendation from my teacher: don't use too many colors as it will make the piece too busy. The original has five silk colors, plus gold. It's best not to go over that and in fact it would actually look nicer with less colors and instead use different shades.

In my first iteration I took the main colors from Hiogi that I liked: red, pink, white, green, blue and purple. In the end, the only colors that survived is the red and pink which I had used in the pink cloud and cherry blossom on Hiogi.

I was initially going to also use the same white, but it was a little too bright for the piece. I swapped it for a creamy/pinky white. I wanted green in there and after a lot of back and fourth, decided to use the same greens as my Grace's kimono.

So I finally had my color palette, with the original as a backup. However, I wouldn't know until I actually started stitching whether the colors would go well together or not. It will depend on whether the silk is flat or twisted, am I combining it with metal thread, what cord will it be used for, what color will be next to it... It would just have to be a trial and error.


And for proof, on the second day of class, I realized that I will be missing a color. I needed one more for one of the cords. Since I was clearly going for a floral theme, one of my friends recommended a wheat that just happened to be lying around that day (a few of us brought our entire stash of silks to make the process easier).

As all this happened over a month ago, I can confirm that the colors did play nicely together. I'll show you in the next post.

Monday, November 28, 2022

Himotaba - Prep Work

You've seen a peek of this in a previous post, here's the official post introducing my next Japanese embroidery phase. As you know I switched things around starting Eternal Grace (phase 6) before cords (phase 5). The class was held with November but before I arrived to class, I had a few things that needed to be done first.


I realize now that I don't have many pictures of the process, but it's really a lot of the same thing. It's basically outlining all cords using Japanese running stitch. They need to be outlined to make sure that they are 7mm thick all the way through. This is required as sometimes the framing will distort the design line. Stitches are between 4mm and 6mm long, but when you can't go around a curve you switch to a line of held thread. Time consuming but super easy and zen.


One of the cords is called "rein effect", it's made up of twisted silk thread stitched over a base of couched metallic thread. I stitched mine with gold but it can also be done with silver to coordinate with your color palette.


Two of the cords are called "double central braid" and require padding, but they need to be outlined with metal thread (again the color used should coordinate with your palette). I actually outlined mine with Japanese running stitch using white couching silk first and then added the gold outline. The gold will peek between the stitches and give off a pretty effect.


Looks like a lot of work and although you need to have some sort of pre-work ready for class, you only need enough to get your cords started. Because let's be realistic, we'll barely get a few inches stitched on each cord during the four days of class.

While I was doing all this pre-work my mind was thinking about colors, more on that in a later post.