Our Japanese embroidery class was held last week. We were a mix of advance and phase 1 students. In order to use the time wisely, phase 1 students started on the Wednesday in order to frame their pieces and learn the basics of handling the flat silk. The advance students (there were two of us) came on Thursday and the class went on for four days. It was very exciting to pack up my embroidery things the night before. I forgot how much stuff we cart around.
On the first day of class, we looked at short stitch holding. As I've done my homework, I could jump right in. Short stitch holding is one of those techniques that is super Zen. It takes a long time to cover the foundation and it requires you to be in a very relaxed frame of mind as you want loose stitches. You don't want to pull too tight or it will show up on your foundation. Especially on that smooth flat silk, you want it to disappear. I struggled at the beginning, but it got better as I went along.
The same technique was used on the obi, but in this case we are covering a foundation of twisted thread. We also have areas where the dark and light colors meet. For those areas, the thread used is a combination of both. The goal is to blur the area where they share a hole.
At the end of the day, I have no visible update. Which is the whole point of the technique!
Second day of class, we started work on the face. In Japanese embroidery, we stitch foreground to background. So I could only go so far on the face before I had to stop.
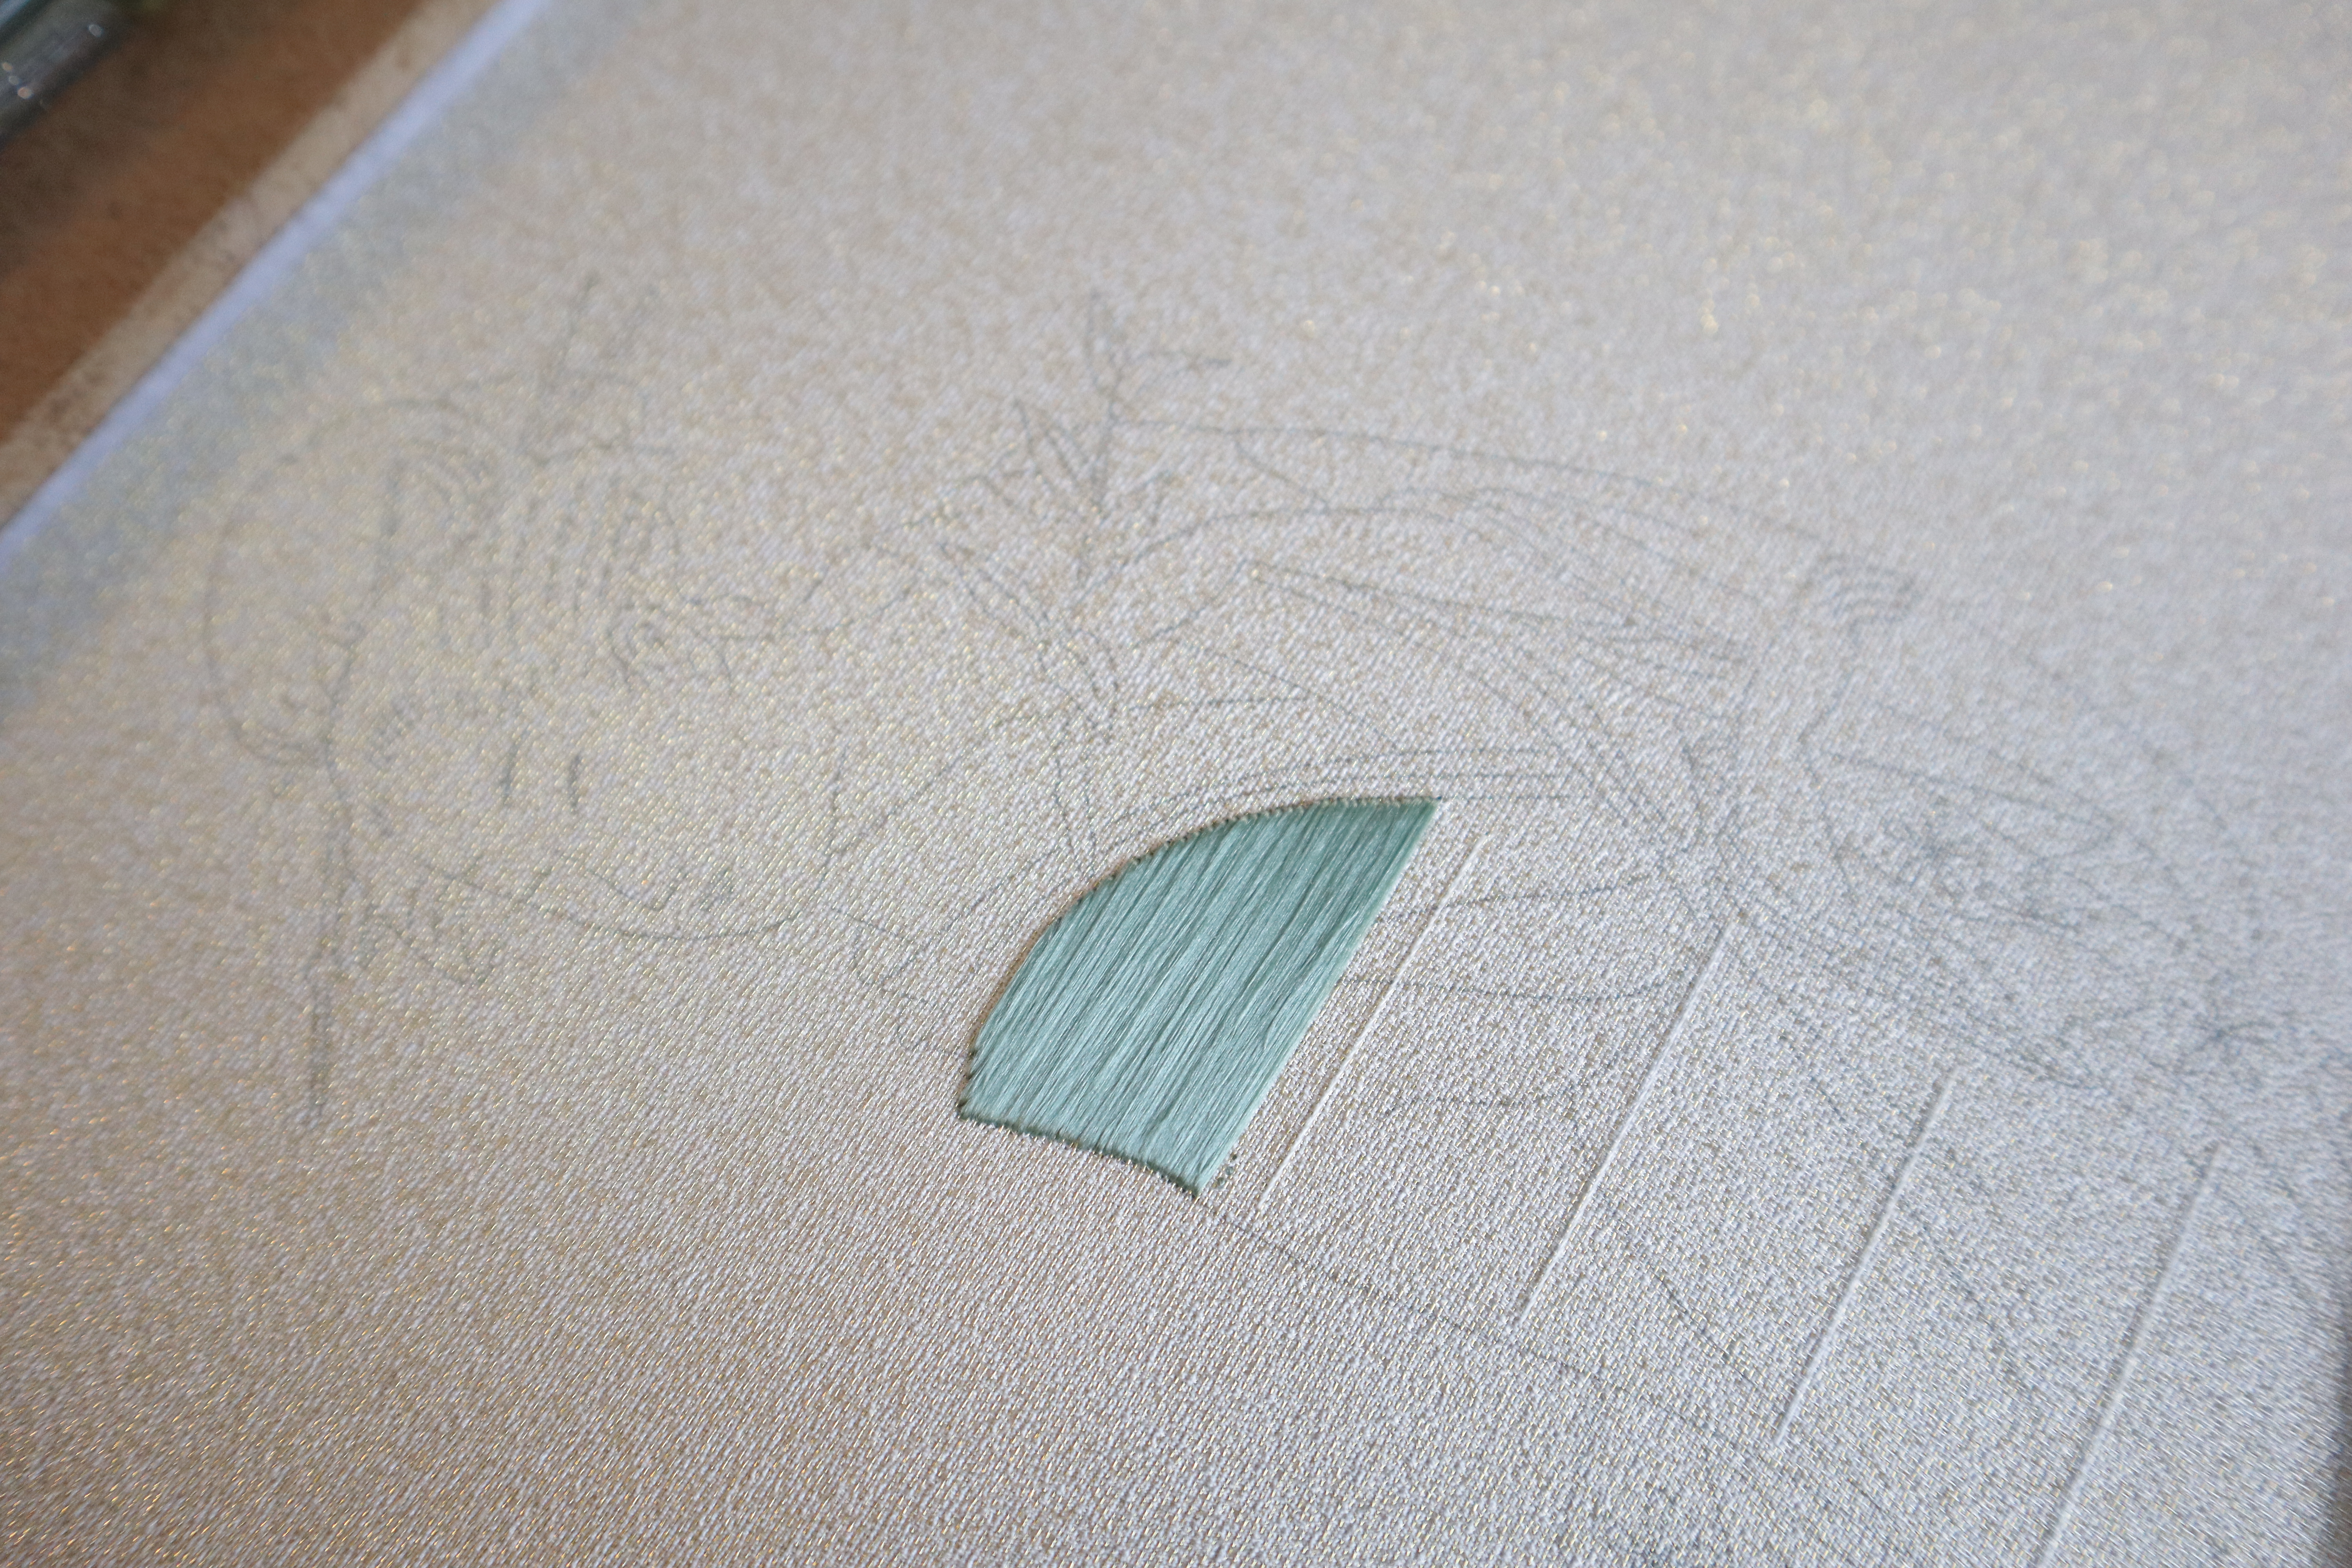
I had a bit of collar and two little leaves to put in first. I loved stitching the collar, it's such a pretty color. But those leaves, especially the bottom one really gave me some trouble. I knocked out the top one and kept struggling with the angle of the second. Until my friend came to me and said: "Dima, is that the right color green? I don't remember using that shade. It doesn't go with the green of the kimono". It wasn't funny at the time, but it helped break the ice. I proceeded to remove both leaves and was able to get through it.
With that the rest of the face could be put in. The foundation is done in a really soft twist and it's the softest thing you'll ever touch (even thought I shouldn't be stroking it lol)
This is where you can start seeing some visible progress.
On day three, Grace got hair.
We took a break in the middle of the day to have a special talk. We decided, in order to inspire and encourage the phase 1 students, we would hold a mini exhibition. Not everyone brought pieces, and some of our stitching group did not attend, but between four stitchers we were able to contribute 18 different designs. It was lovely to see them all together. I originally took a video, but somehow lost the footage, so you're missing the third table in the picture below.
Having had a lovely show and tell, we went back to our stitching. With my foundation in place, I needed to put in temporary holding stitches. I really struggled with getting the curves just right. I think I was starting to tire at this point, as my brain was no longer processing the concept of "temporary". It doesn't have to be perfect as it will be taken out later.
Finally we come to the last day. I considered starting work on the inner garment of the kimono, but I decided I wanted to finish the face. I spent half the day putting in the short stitch holding. You can barely see it in the picture below, and I'm so happy with it.
Once it's in, I can take out the temporary holding stitch. This is where the panic set in and I finally understood what they meant by temporary. When I pulled out the white thread, I noticed there were little nubs sticking out destroying my pretty foundation. Those were the stitches that held the long white thread in place. I lost my mind (in my defense I was tired and fasting, not a great combination), until my teacher calmed me down and showed me how easily they can be taken out from the back.
By then I was really glad it was the last day. I was quite happy to pack up everything and go home. I'm happy with my stopping point. I met the objectives I set myself and even got more done than my teacher did when she took the class herself. However, I don't want to look at this piece for at least two weeks. Which worked out as our next monthly meeting was being held on April 23.