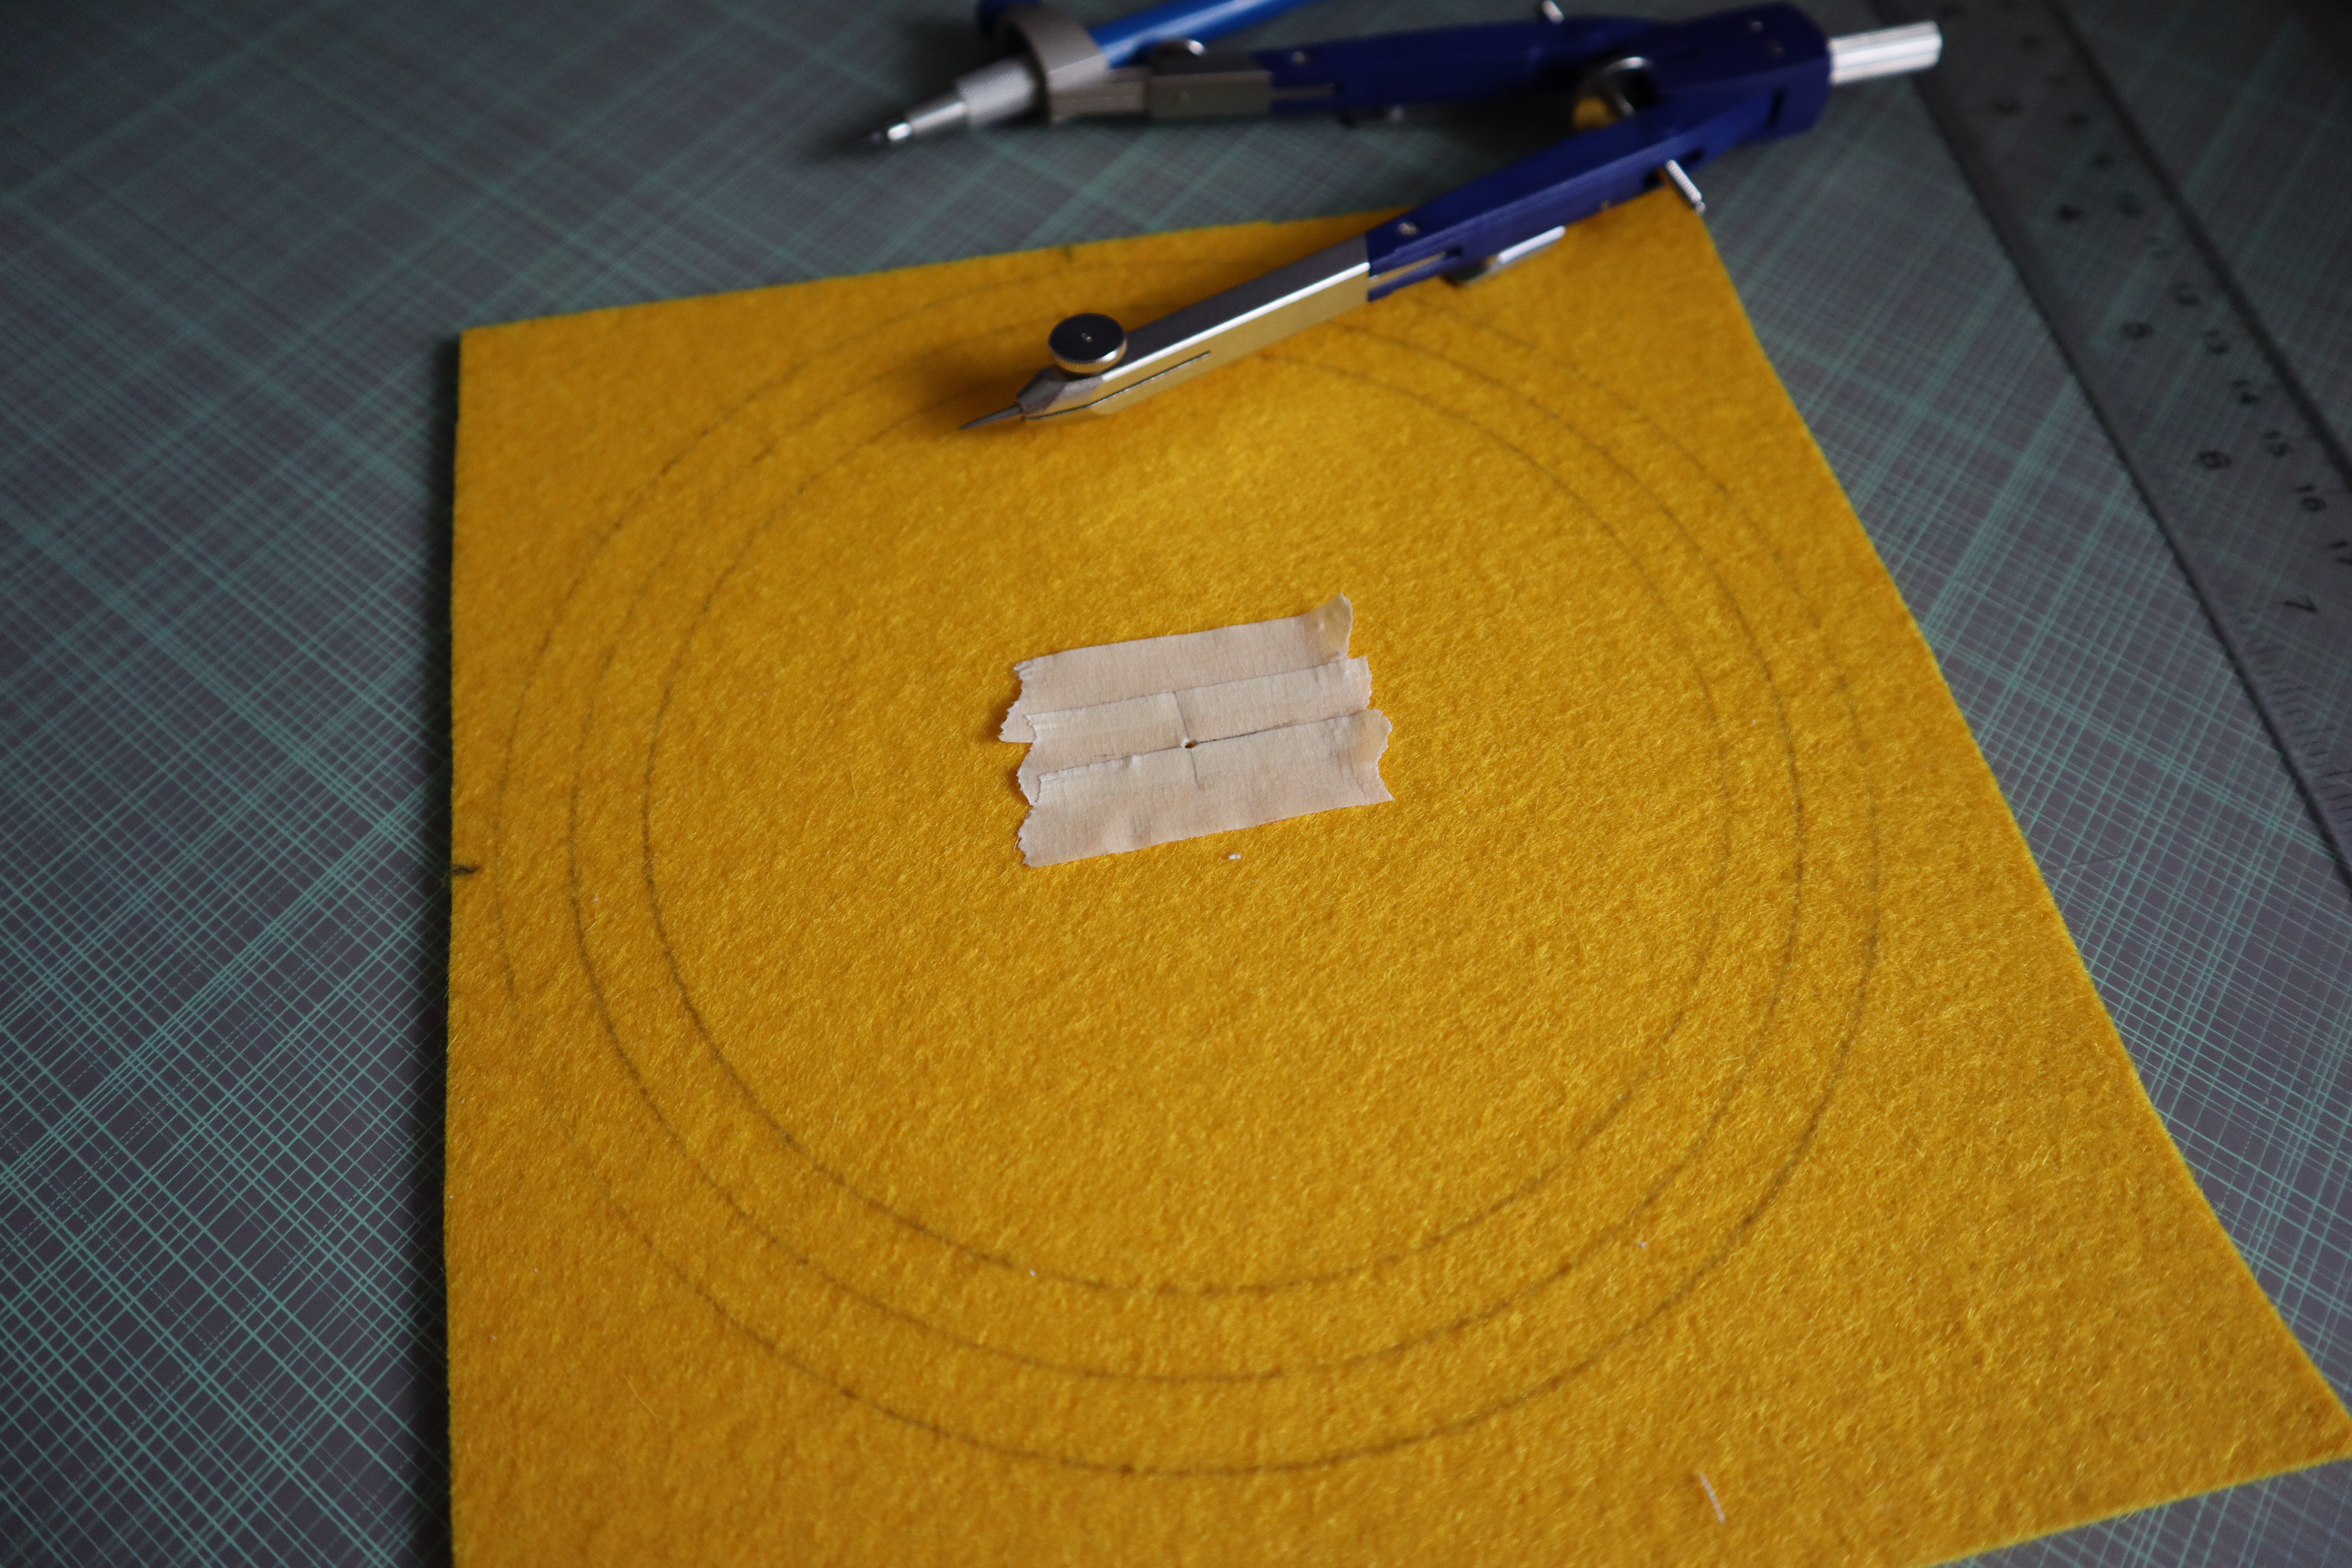
The rest of the lessons on the Astrolabe cover the stitching of the plate and final shape of the casing that would contain it. This is embroidered on black fabric with white cotton fabric for backing. I started with only stretching the white fabric and transfer the design using a chalk pencil.

Once that's done, I stretched the black fabric on top and transferred the
lines using running stitch. This is the same technique we had used previously
in the Mariner's Compass and Armillary Sphere.

The lines are two weights of gold thread couched down. The circles are made up
of couched lizerine.

|

|
This is what it looks like by the end of lesson 5. I really love the look of the plate. It would have been really cool if this was a separate layer like a real Astrolabe would have.

For lesson 6, we began the shape of the casing that encloses the plate. To
give it a nice rim, we put in a really heavy felt round the plate.
This isn't the thinner felt padding I've previously used in goldwork projects, but a heavier upholstery felt. I used a
thinner needle hoping it would make stitching through it easier.

The inner circle line that is drawn in the center of the felt is covered with
string padding. Having done this on the Rete, I did a better job at joining
the ends.

Much like the Rete, the string padding is covered in cutwork. This time
instead of stitching at an angle, it's put in straight down.

I was crossing my finger the entire time I was stitching hoping to get a
complete pattern all around but sadly it didn't work out. The pattern is five
gold and one black. If I had known in advance, I would have made one or two
random grouping four gold and one black, hoping that by the time I got back to
the beginning it would make a seamless join. Those random smaller grouping
would be less noticeable than what I have right now.

The last step in lesson 6 is to add a wall to the rim. The inside is covered
with plate and the outside in crimped plate.
 |
 |
I'm now midway through lesson 7. I'm hoping to get all the embroidery completed by the end of this weekend. If it works out, all that would be left is cutting out all the parts and putting them together for lesson 8. These are things I can do after work.
Love reading about your progress. It's looking wonderful.
ReplyDeleteI'm really enjoying watching this one develop!
ReplyDeleteOh my goodness, this is stunning! I like how the previous pieces help with the techniques for each new design.
ReplyDeleteThis is looking very good! Even though it just seems to be a number of pretty, but random lines right now, I just know it's going to come together so wonderfully.
ReplyDelete