In the last post, I shared how the back of the embroidery is finished off. In this post, I
will show how the pouch is formed.
1. For sewing the darts, I used a lacing motion. Here's a video that will
explain it much better than I ever could.
Once the darts were sewn shut, the pouch started to take shape.
Here's what it looks like when one side is completed.
2. The same was repeated with the other piece.
3. The two sides are placed front side out, making sure to match the darts. I used a ladder stitch to sew them together. I tried to make smallish stitches and made sure to come up under the line of beads. It was really hard at the beginning, I have a sort of gap on mine at the top ends but it doesn't bother me too much as it's a learning piece.
I started off using a regular needled before giving up and switching for a circular needle. I should have just started with that, but I find using a circular needle awkward. However, it was really hard to stitch through the fabric with a straight needle, so it just took me a little bit more time to sew.
Here you can see the matching of the darts.
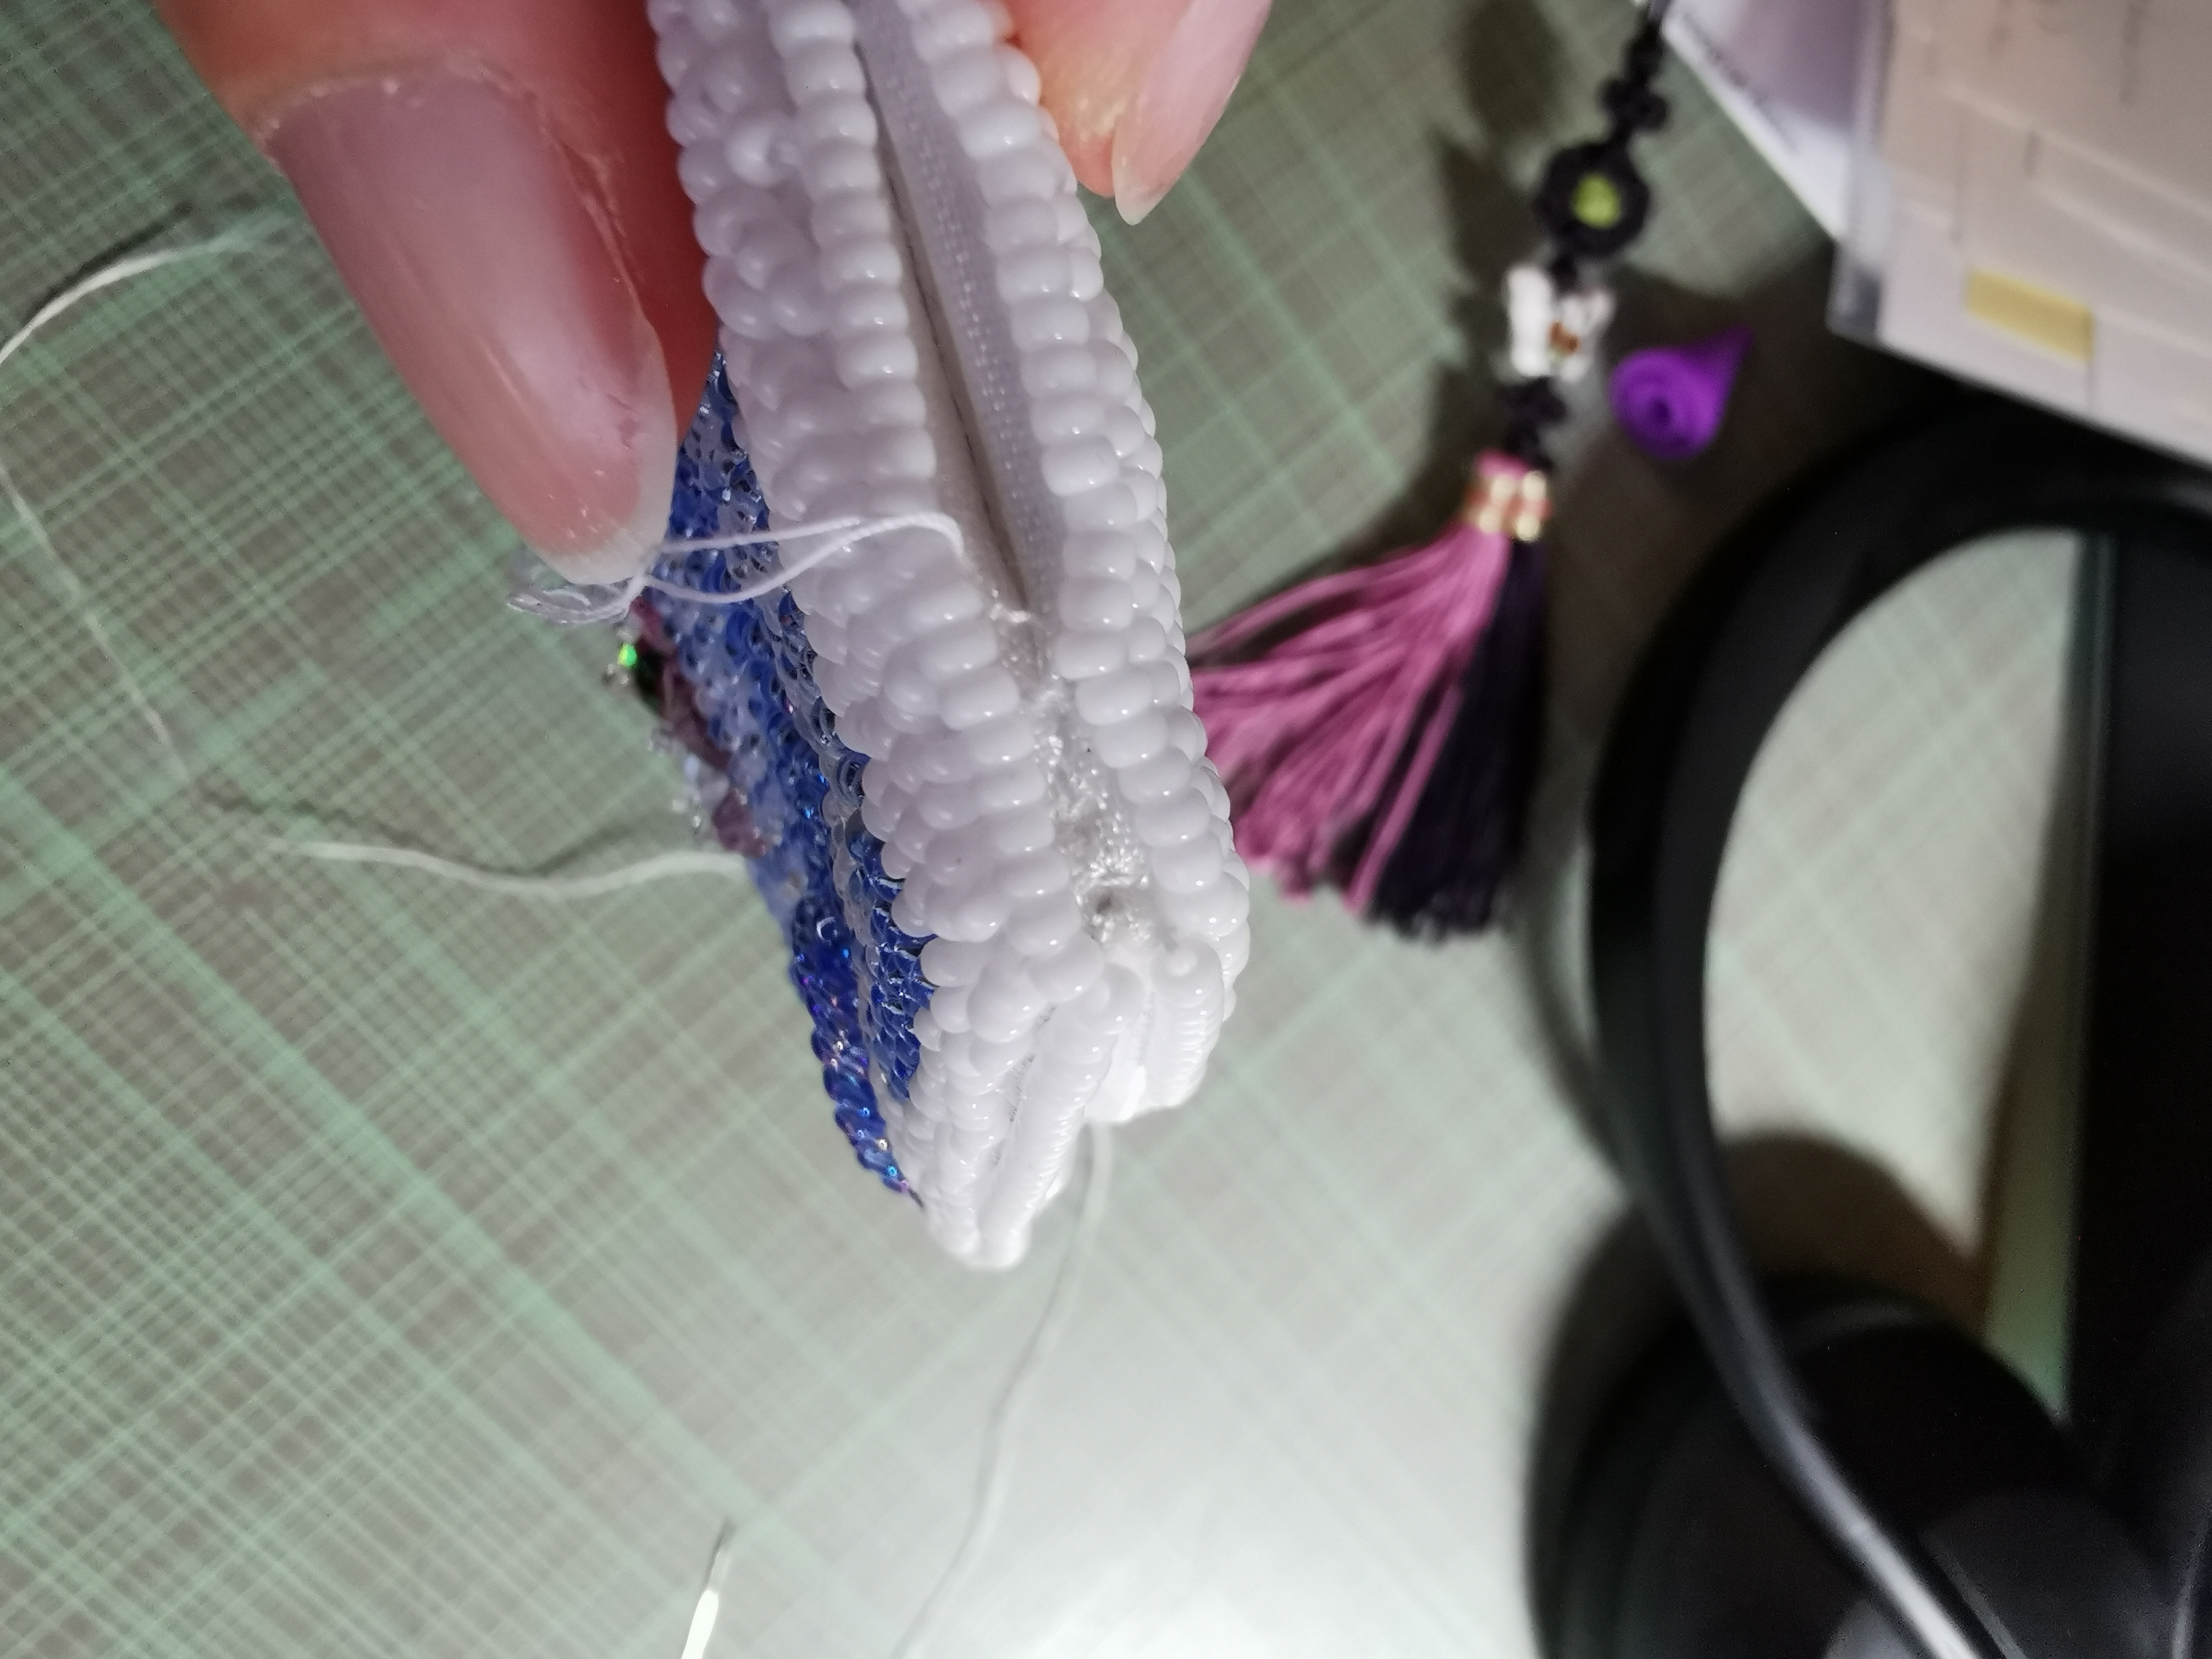
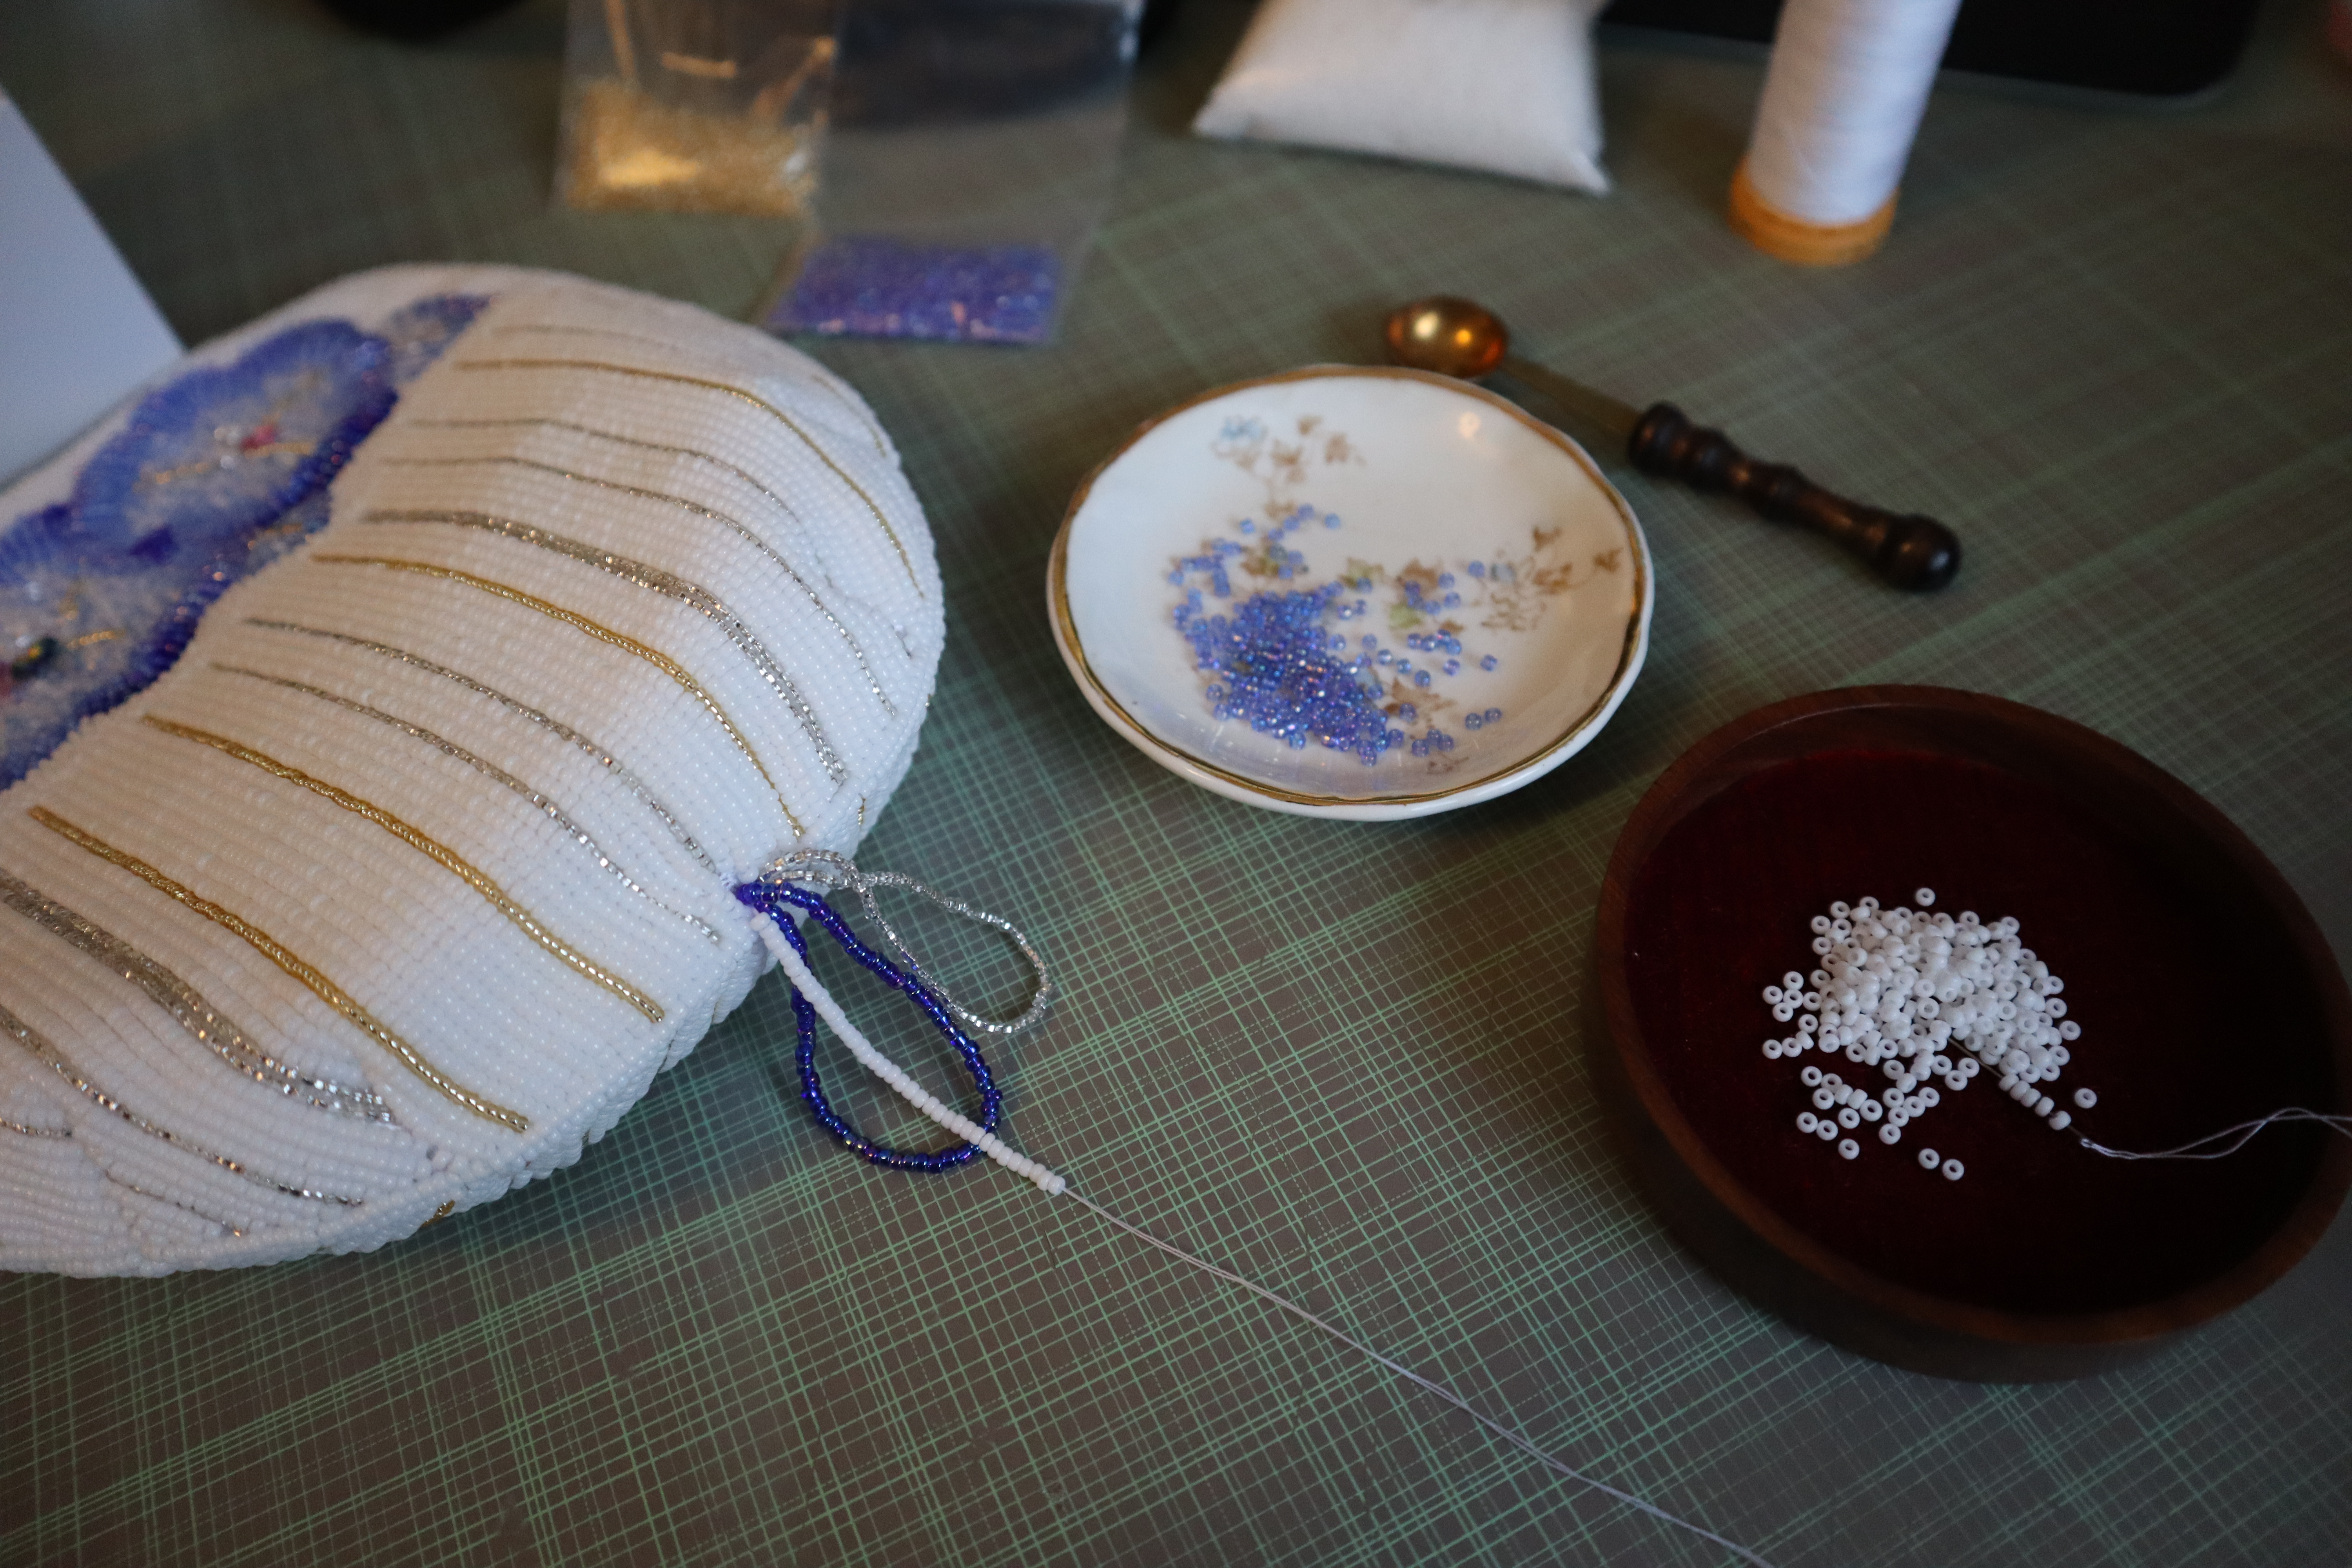
4. At the time when I discussed the tassel with my teacher, the plan was to put in the tassel when I reached the halfway point. I'm not sure what happened, if I got distracted or forgot, but I ended up doing it after I sewed the pouch. Here, I used a needle with a doubled thread. I started with a knot and a few small stitches to secure my thread and started threading beads to form the loops to make up the tassel.
I had to do this twice as the first time, I wasn't careful and ended up with a knot inside the pouch that I couldn't find. Great it won't be visible since it's inside! What happens though, is when I pulled on the loop, suddenly the knot came undone and I had a too much thread showing. I ended up removing everything and restarting from scratch. This time going slowly and making sure to pass the needle from one hand to the other and making sure the thread is taught and has no chance of tangling.
Extra note: Each loop has about 10cm worth of beads on it before it's folded and there is a tacking stitch between each loop to ensure they are secured.
With this the outside of the pouch is completed. In the next post, I will show how I put together the lining and attached it to the pouch.


That's coming together really well, strong and structured looking.
ReplyDeleteAbsolutely beautiful and worth taking the time to get it just right too.
ReplyDeleteYour pouch looks beautiful!
ReplyDeleteThank you for the video on how you stitched the darts. The pouch is absolutely beautiful.
ReplyDeleteOh yes, now those darts make sense to me. Love how it's taking shape!
ReplyDeleteSo gorgeous!
ReplyDelete