Friday, January 12, 2018

Japanese Embroidery Phase 1 - part 5

Since my stand was out and I couldn't work on Japanese Landscape, I figured it was a good time as any to take out my phase 1 Japanese Embroidery piece.

I spent the day on it, starting with finishing a few threads that have been sticking out. I worked on the pink flower and filled in a bit more of the wrapping paper (upper right corner).


When you take a class, you tend to jump around a lot on a piece as the teacher tries to show you how to do each technique. In normal circumstances, the iris would be stitched first before you move onto the next element. So I spent the afternoon working the larger petals. These are stitched with twisted thread so a lot of my time was spent twisting threads for it.


I think it needs about two more sessions to finish it. I'm slowly getting the hang of stitching curved elements.

2018/01/08: I had a stitching meet up with my Japanese embroidery group. I was able to put in more time on the iris. One more session and it will be finished.


Thursday, January 11, 2018

Gift to Myself

 As you know I don't celebrate Christmas, but I couldn't help getting this for myself. Especially as the price was just right. In 2016, DMC released this limited edition golden skein made out of 24 carat gold wash to celebrate their 270th anniversary.


I wasn't ever planning on buying it because the price was so high for something that I will most likely never use. However, over the holiday the price was lowered to $39.99.


The box is gorgeous! I love boxes, don't you?


It comes with a little 24 page booklet detailing the history of the Dollfus Mieg Company.


In it there are also 19th century charts from their archives in Mulhouse. Now that's something I'd love to visit in person.


Since I was placing an order with DMC, I couldn't not get the new DMC thread sample card. The one I own is from 2009.


I thought that this was a better way to spend my money than buying the new DMC color threads. This means that now I have a sample of the newer DMC colors, but also the changes they made to existing threads.


See, there were recent changes to regulations in Europe that meant that DMC had to change the formulas for some of the colors.


These colors have a little dot next to them. See below, left side is from 2009 and the right is the new one. The change is not that noticeable, but you don't really notice these things until you actually try to use the thread. It's not an issue if you do your own thing and just pull your own colors, but it can be a big problem if your putting together a kit for an older cross stitch design.


My only regret is that I placed my order a week before DMC decided to give a tin box with every purchase, that's life. The golden skein is back to its regular price, but the color card has a reasonable price and will pay for itself in the long run. I've used my old one several times over the years. My mom likes to use my stash of DMC threads for mending some of her costlier clothes items. The sample card has come in handy for picking just the right color :)

Wednesday, January 10, 2018

Japanese Landscape - Part D & E

While I was trying to figure my felt problem, I had moved onto the clouds to give me time to think. The clouds are first outlined with pearl purl in gilt, copper and silver.


With the outline done, I got to have some fun with chipping. Below are gilt and copper bright check.


I wish I could show you how sparkly this is. I think these are supposed to represent mountains. The gilt bright check was stitched under the copper pearl purl and the copper purl bright check under the gilt pearl purl. I really love the contrast.


Here is the piece so far and where we will have to leave it for a while. When I got this point, I realized that I was missing the silver wire check to finish the sky. I forgot that Alison didn't have this thread and I would have to buy it elsewhere. Fortunately, I was able to find some at Golden Hinde. I placed an order over the holidays but it will be a few weeks before I get them. In the meantime I have other projects to share with you :)


Tuesday, January 9, 2018

Japanese Landscape - Parts A, B & C

Let the goldwork begin! First step, part A, is to couch down a frame around the design using pearl purl.


It's important that this comes out as straight as possible, so a ruler is useful.


This pearl purl border will later be surrounded by two more layers that will be added at the end. This first one is needed now to define the stitching area.


Part B and C are the circles on the left and right that represent flowers. They're both stitched in the same way using super pearl purl, rococco and #1 twist.


The super pearl purl is couched down first. I wanted to get this circle as perfect as possible. Can you see where the pearl purl starts and ends?


Next layer is rococco. I've never used this one before. I kind of like it but I found that the wave in the metal thread wasn't consistent all around. I do love the color.


Rococco is couched down where the metal thread curves down. This is where a consistent wave is important. If it is, then you will be able to evenly couch down the thread and it will look nicer.


The next layer is with #1 twist. This thread consists of three metal threads twisted together into a cord. It's couched down in the same manner as passing thread.


Once all three are couched, I repeated the layers a second time.


This is where I hit a snag. I'm pretty sure I cut my felt the right size, but I seem to have ended up with some felt sticking out.


I received some good advice from Jen Goodwin on Instagram. She recommended a solution that would take courage and nerve: carefully cutting the stitches holding the edge of the felt and then trim back the felt using curved scissors. I ended up taking her advice but I used pointy scissors instead, my curved scissors were too big for the area. Luckily I didn't have any issues.


Once the felt was trimmed back, I was able to add a fourth layer of super pearl purl to cover the edges. Now that I think back, I wish I had realized there would be a problem when I was about to put in that third line of super pearl purl. If I had, I could have trimmed the felt right then and wouldn't have needed an extra layer. Live and learn :)


All in all I'm very happy with how it came out. One thing to note, the amount of rococco and #1 twist that is in the materials list could have been more generous. My tails were tiny and I had a hard time plunging them to the other side.


Monday, January 8, 2018

Japanese Landscape - Padding

Now that I transferred the design onto the fabric, I could start attaching the felt. I mentioned in my last post that the lines were very faint. They were easy to see under natural light but were invisible under artificial lighting. This meant that the bulk of the work had to be done during the day. Luckily, I was off from work for the Christmas holidays to I could take advantage of the daylight.

(click on the post to see the animation below)


After the felt is attached, it's time for soft string padding.


There isn't a lot of it, most of it on the central flower. This will be covered with cutwork later. It will be so pretty.


These little petals were annoying, so small and finicky.


I'm sure they will be worth it once they're covered.


Here is all the padding done. The application of the felt will make stitching much easier as I can now see the design lines. I can't wait to start filling in all the different elements of the landscape. There are flowers, hills and clouds. I just wish I knew what type of flowers they are. There is no mention in the book, so if you know what they are please let me know.


Sunday, January 7, 2018

Japanese Landscape - Tracing on Fabric and Felt

With my fabric stretched on the frame, I'm ready to start. Here are all my materials. Except for the embroidery tools that I already owned, I bought all the metal threads, felt and fabric from Alison Cole. In order to prepare, last year I made a colored drawing of the design and traced all the different pieces as well as the design itself on tracing paper.


To transfer the design onto the fabric, I used the same method as Pearl Butterfly which is a dressmaker's carbon paper by Clover. Before starting, I tried out different sheets to pick a color that will show up best against my fabric. I ended up going with the yellow.


I found the center of my fabric and positioned the outline as straight as I could. Below the frame is 2" binder which gives me a firm surface to draw on.
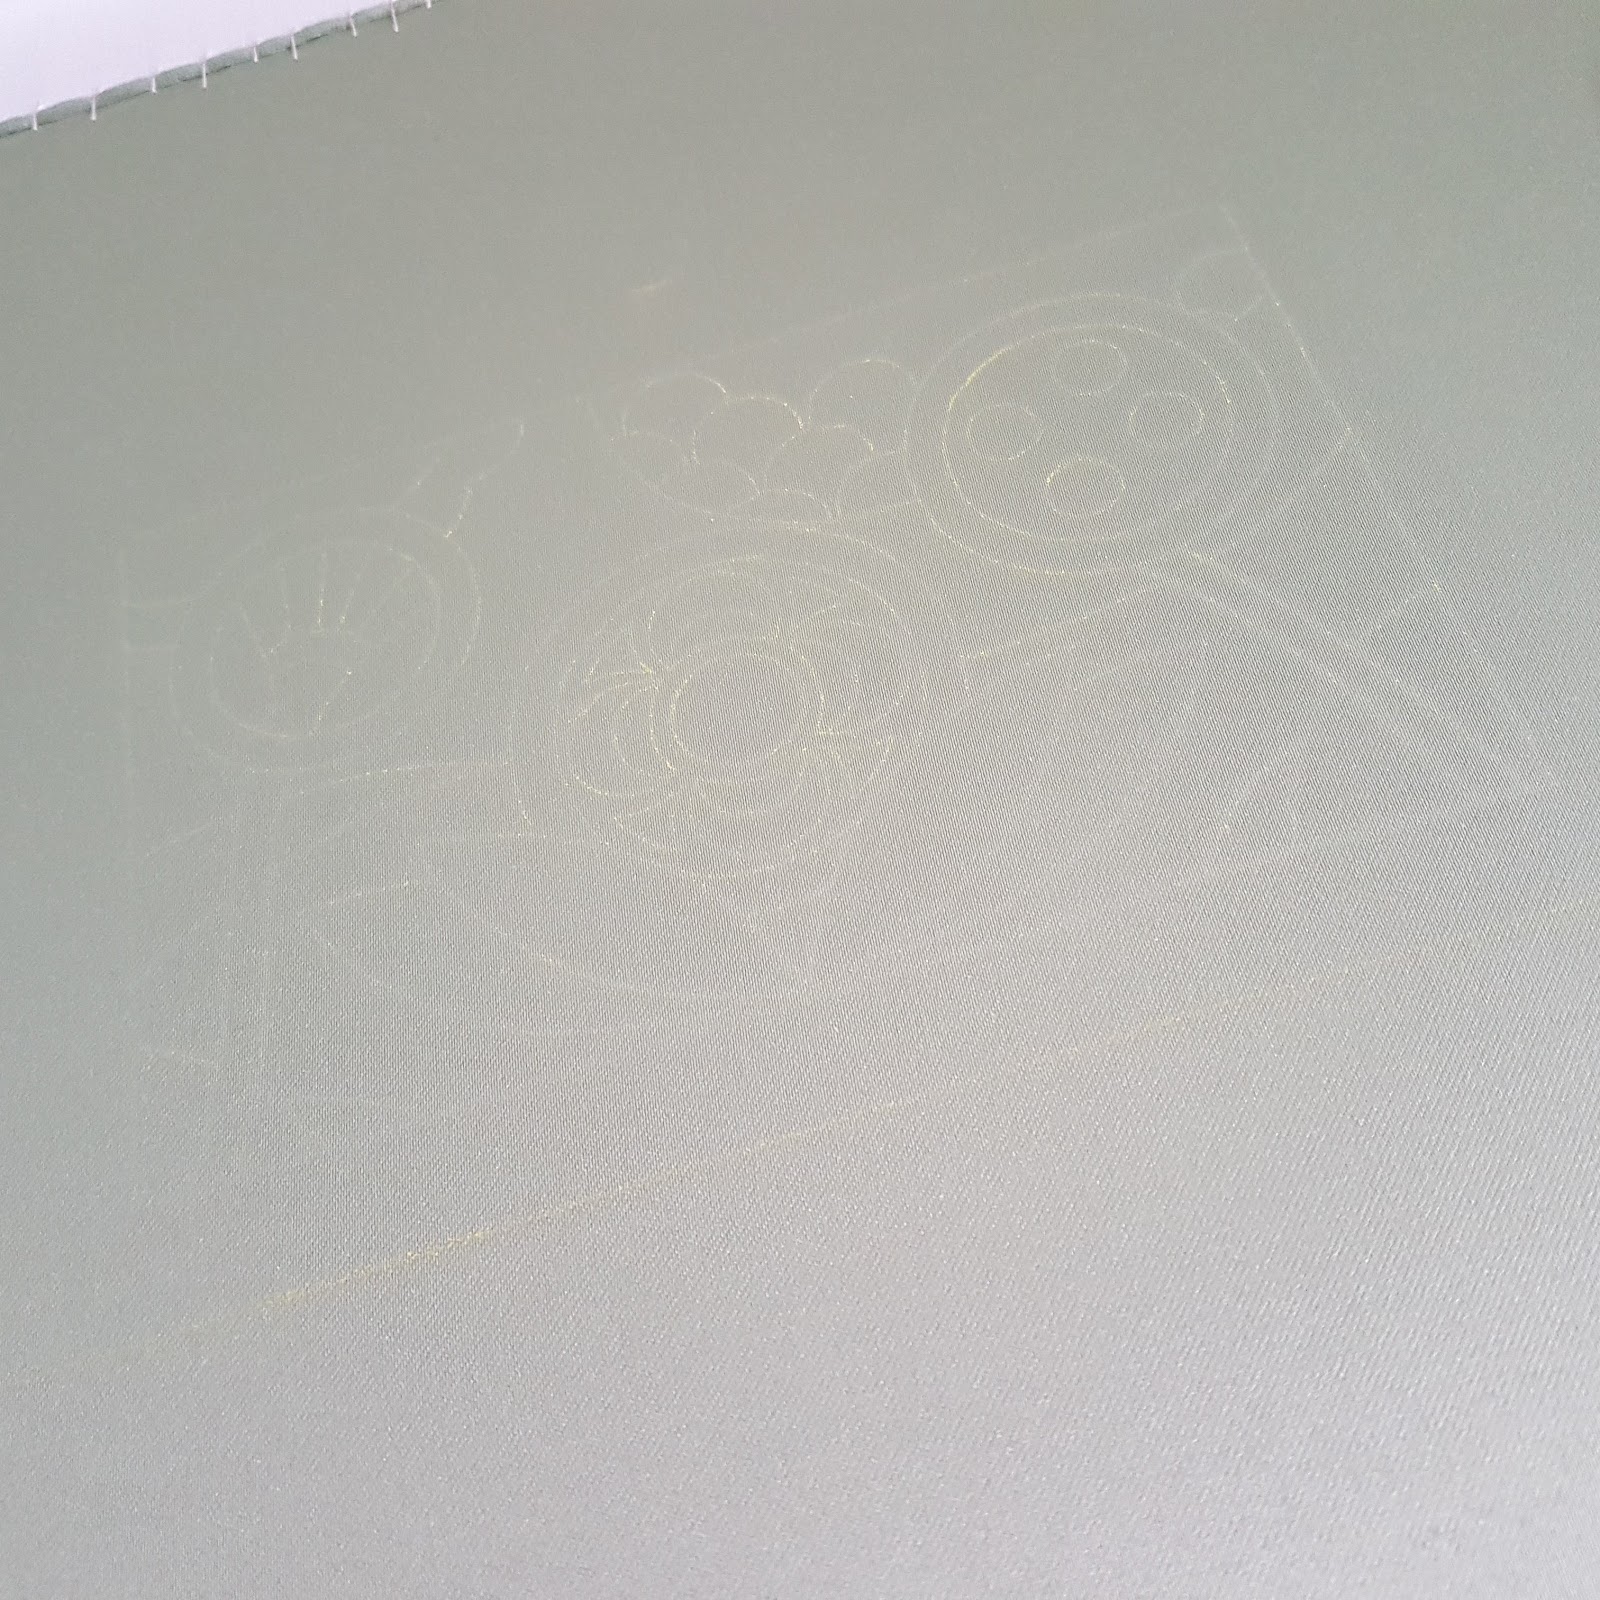

I then drew over the lines using a stylus, making sure to be very firm so the carbon transfers onto my fabric.


Here is the design transferred onto the fabric. It is very faint and I had a very hard time seeing it. I think I will try a different method next time. Natalie has offered to show me the prick and pounce method. I will take her up on her offer for the next project.

If you look very closely you'll notice that the sky is on the right side. I later realized that I traced the design on the wrong side (too eager to start). If this ever happens to you, the carbon can be brushed off using a soft brush. So no harm no foul, just brush it off and try again.


I tried to use the same transfer method for the felt, but the carbon wouldn't transfer. The felt was too soft.


I ended up using a ball point pen and just went over the outline hard enough to pierce the transfer paper creating guide lines that I later went over using a pen. Basically I used a rough version of the prick and pounce method.


Saturday, January 6, 2018

Japanese Landscape - Setting up the Frame

Over the holidays I was very busy starting two new projects. One of those is Japanese Landscape by Mary Brown from her book Goldwork Embroidery: Designs and Projects. For this project, I decided to use slate frames. Patricia had some slate frames from the Royal School of Needlework in stock at her shop. I figured it would be an excellent project to try these on. With this project I will have tried three different frames: French, English and Japanese. I wonder if I should do a video showing the difference between them. Let me know if there is any interest in that.


To put it together, I had a get together with Natalie of Sew by Hand. Between the two of us, an RSN book and her notes from the RSN, we figured it out. I used a kit by Sarah Homfray. It's a great start up kit to set up your frame. It includes the very important bracing needle. Check out how huge that thing is. It's lethal weapon and I poked myself with it quite a few times.


Natalie took a few pictures for me, but we got a little distracted talking along the way, so there are a few steps not shown. Before coming to Natalie's I made sure to sew the muslin to the webbing on the bars. The muslin is rolled around the top and bottom bars and the nails put in (you want the fabric a little slack). With her, I attached the herringbone tape. The bracing needle is then used to lace the fabric to the side bars. It's important that the lacing be loose at this point.


Once that's done, the actual fabric for the project is attached to the muslin. Only then are the laces pulled tight to the sides and the top and bottom bars pushed apart and the nails re-positioned. That last part was very hard. I was lucky enough to have Natalie there to help, but some stitchers have had to use their feet to pry apart the bars.


Here is my frame all set up.


For good instructions on setting up a slate frame, the RSN essential guide series is excellent. But be warned the steps can be different depending on what technique you are setting up the frame for. The essentials are the same but there might be some extra steps for goldwork for example that are not necessary for crewel. I was following the goldwork book while Natalie had instructions from the crewel book and we noticed a few differences.

With my frame set up, I need trestles. Unfortunately those are far and between, not to mention expensive. Instead, I decided to see if my Japanese embroidery stand would work as a substitute.


My frame isn't quite long enough to work with it, but with some wooden slates my dad had in the tool room I was able to arrange a setup that works quite well. It's a tight fit, I really need a stitching room.


More to come on this project.