
This month's topic: What makes you pick up a long-abandoned UFO rather than beginning a new piece? (this question comes to us via Paula) It all comes down to guilt. It's the only reason Flower Patch was ever finished. That and lack of space. All my stitching stuff is stored in my room and I can't really have multiple projects on different frames in there. Also, I only have one set of frames per size, so if a project is on scroll bars, I have to finish that one before I can put in another one. Saying all that, I'm not very qualified to answer that question since the oldest any of my WIPs have gone was 2 years.
Still nothing on Bramble and the Rose.
 | No Update |
Ink Circles - The Bramble and the Rose
| |
I spent more time on Tree of Hope. I finished stitching the tree...
 | 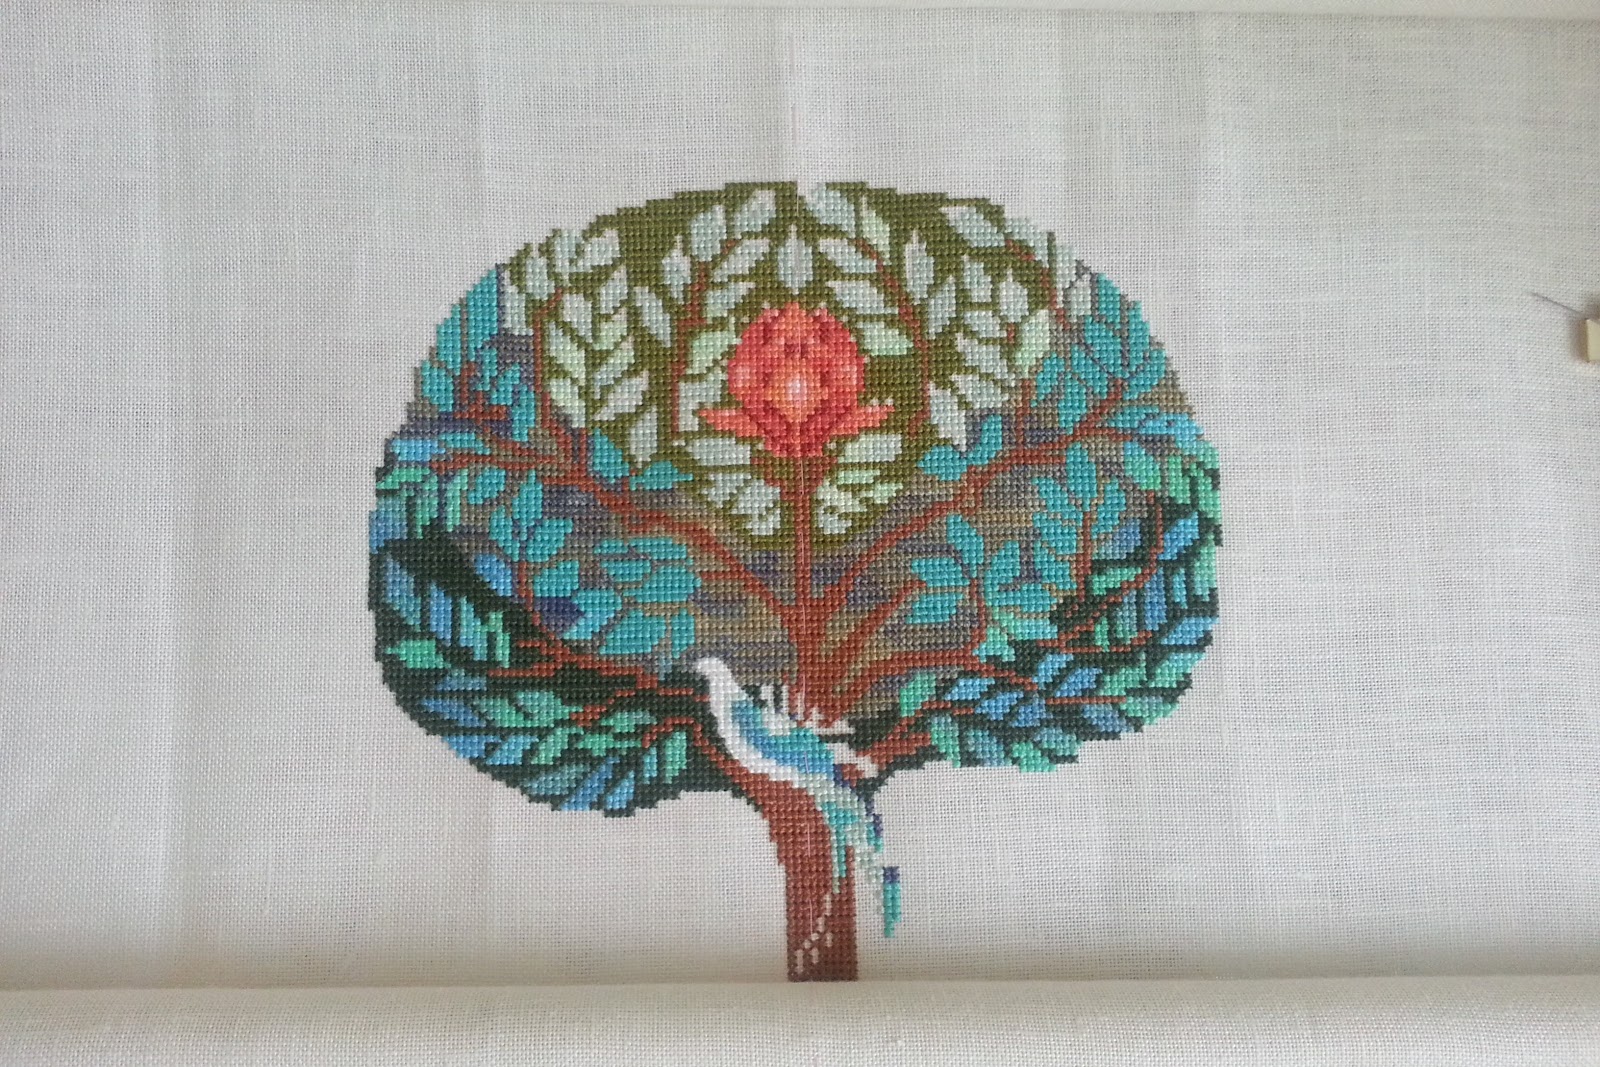 |
Mirabilia - Tree of Hope
| |
And then started on the maiden on the right of the tree.

I still haven't touched Tracery Dragons.
I finished the button hole border on Fantasy Lace and started stitching the eyelets, but didn't get very far.
You can't really see it, but here are the eyelets.

Since I finished Pretty Little San Francisco I decided to start another "small" WIP. This is a schwalm piece from Inspiration magazines issue #86 called Eidelweiss.

 | No Update |
Teresa Wentzler - Tracery Dragons
| |
I finished the button hole border on Fantasy Lace and started stitching the eyelets, but didn't get very far.
 |  |
Satin Stitches - Donna's Fantasy Lace
| |

Since I finished Pretty Little San Francisco I decided to start another "small" WIP. This is a schwalm piece from Inspiration magazines issue #86 called Eidelweiss.
N/A
|  |
Deborah Love - Eidelweiss
| |


