I'm semi back from hiatus. Things are much calmer at home but it's still very busy at work. Now I'm playing catch up with progress posts.
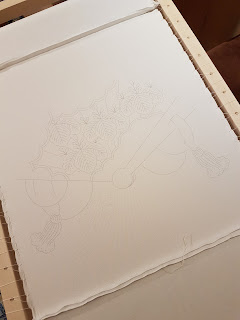
Before the holidays, we had a frame up session with my group and setup our new pieces so we'd be able to start our pre-work.
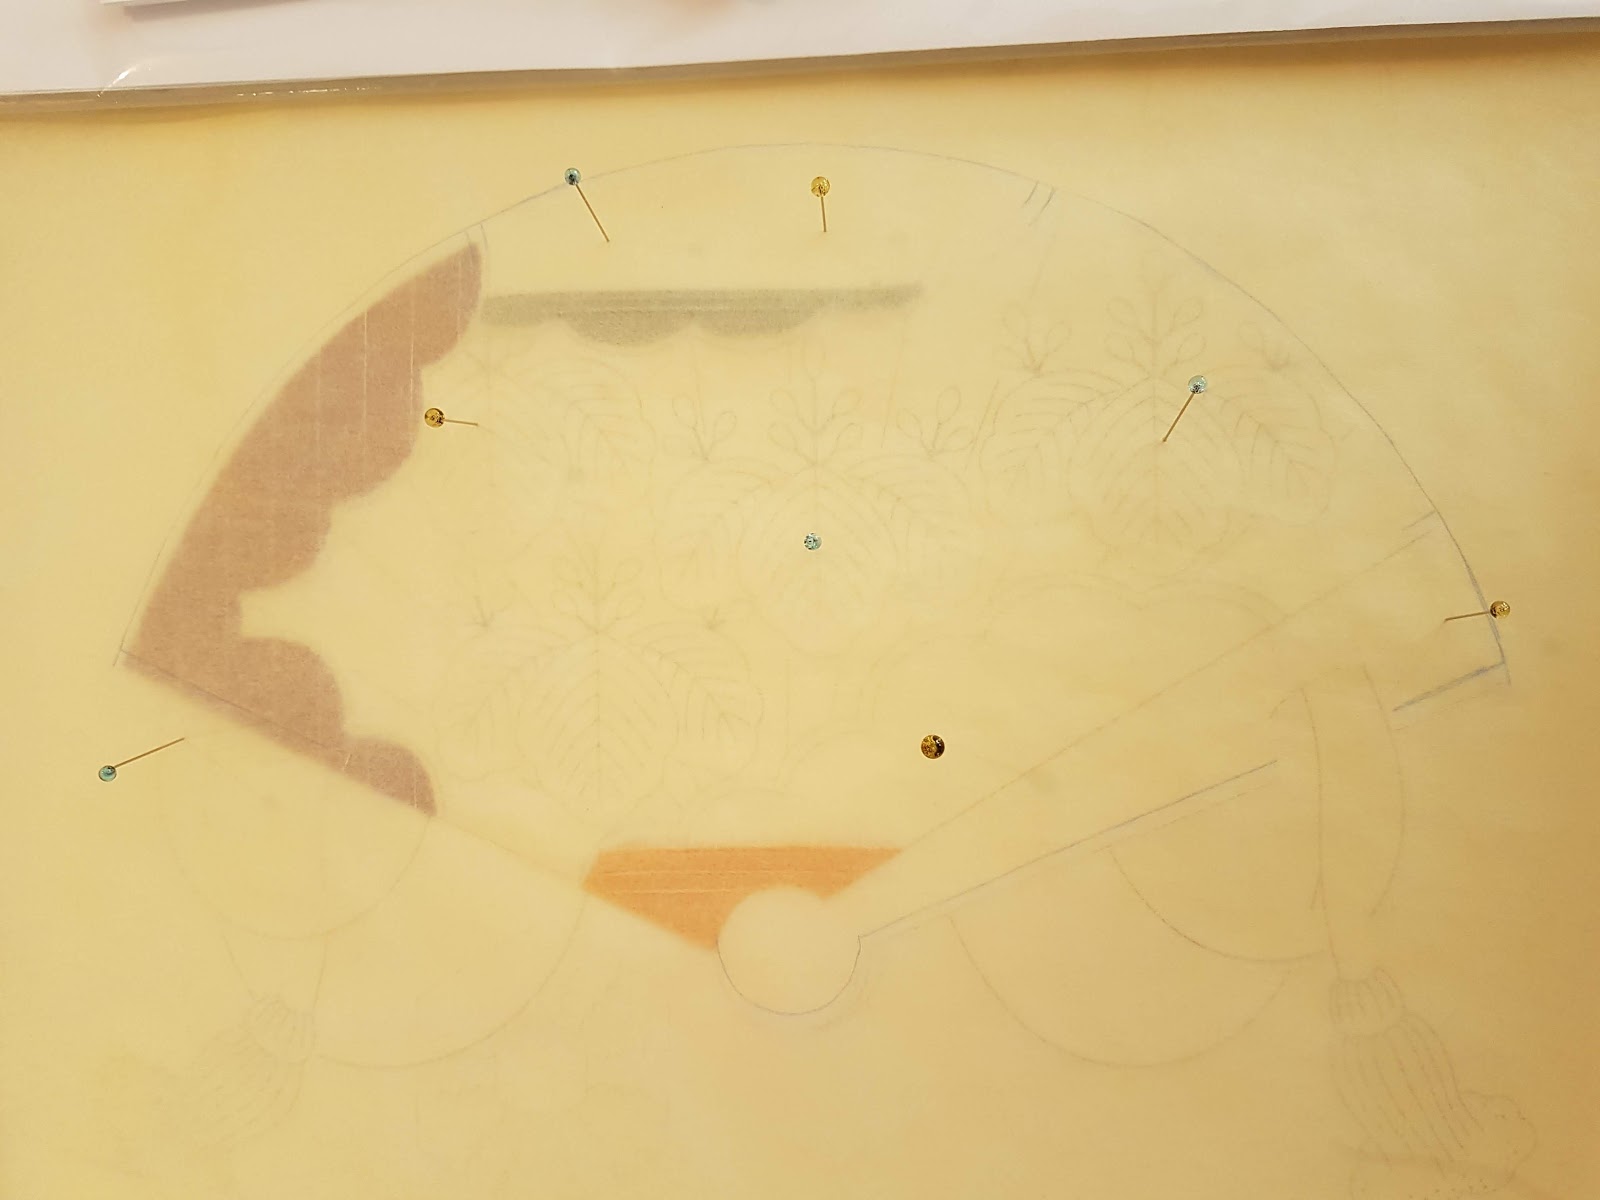
I wanted this to be an official 2019 piece, so I waited till January 1st to start. First step was to outline the fan's edge.
From there I jumped right into the first cloud, called
sayagata and didn't look back. I loved stitching on this fabric by the way. There are little "valleys" in it that, if followed properly, means your stitches are all straight. I didn't need to put in any guideline stitches as I did in
phase 1.
The next day I found an email in my inbox. Someone from my group saw my pictures and questions started to arise on whether my fan edge was properly stitched. I had some design lines sticking on the edge. The fan is outlined with three lines of #5 gold so we tried to see if they will be covered with the final outline. But just in case, I sent an email off to my teacher and kept going while I waited for her to reply.
To protect the silk from snagging, temporary holding stitches are put in. I really enjoyed this process as it appeals to my technical side. At this point
sayagata is ready for class.
I still had some time in my day and I started working on the second cloud called
shippo.
I took a break for a few days to work on another start (more on that later). By the time I took the piece back out to continue, my teacher had gotten back to me and confirmed that my edge was incorrect and would have to be redone. I couldn't figure out how to redo it on my own (this is why you need a teacher) and still have a nice curve so I decided to start working on the third cloud.
Fast forward to last Saturday when we had our monthly meeting. I spent most of the morning figuring out how to fix the fan outline with the help from my group. If you look at the image below on the right, you can see where the curved edge should actually be. It's not a small amount. Which meant, I had to redo the purple cloud.
Since we were discussing redoing sections, I brought up the straight edges of the fan and whether we should be covering the guideline. We shouldn't, so I added redoing the peach cloud as well. I wasn't very happy with my stitching anyways so I didn't mind redoing it. It looks much better now.
 |
| Before |
|
 |
| After |
|
I didn't waste time, the very next day I started unpicking
sayagata. Luckily my back was very clean which made the process painless. What was painful was scrapping all that silk thread. Because of the creases it was unusable.
 |
| Back of sayagata cloud |
I'm halfway thru restitching the cloud. One more session I think to finish the stitching and put in the holding stitches. However, I'm not done redoing sections. I plan on redoing the blue one as well as I'm not fully satisfied with what I did.
Am I sad I had to undo all the work I did over the holidays? No, not really. While I was working on these sections, I received a lot of comments from social media which I took notes of for next time. It just means I'll be able to apply them now. Redoing sections also means I get to put in more practice time, so I will just get better.


I groaned when you said you had to scrap all that silk! I understand, but still, it must have been so hard to do <3
ReplyDeleteI am glad that you are philosophical about restitching the whole thing again! But it is important to get the sections right. It's great that the community is so helpful and supportive too.
ReplyDeleteIt's heartbreaking to scrap all that silk, but as you say, you did better the second time, so it was worth it!
ReplyDeleteI'm glad your taking the restitching so well. I'm not sure I would! The clouds looks very pretty, though. There is something special about such a big, smooth surface of stitching!
ReplyDelete