Friday, June 10, 2022

Poppy Pouch - Finishing part 2

In the last post, I shared how the back of the embroidery is finished off. In this post, I will show how the pouch is formed.

1. For sewing the darts, I used a lacing motion. Here's a video that will explain it much better than I ever could.

Once the darts were sewn shut, the pouch started to take shape. 

Here's what it looks like when one side is completed.

2. The same was repeated with the other piece.

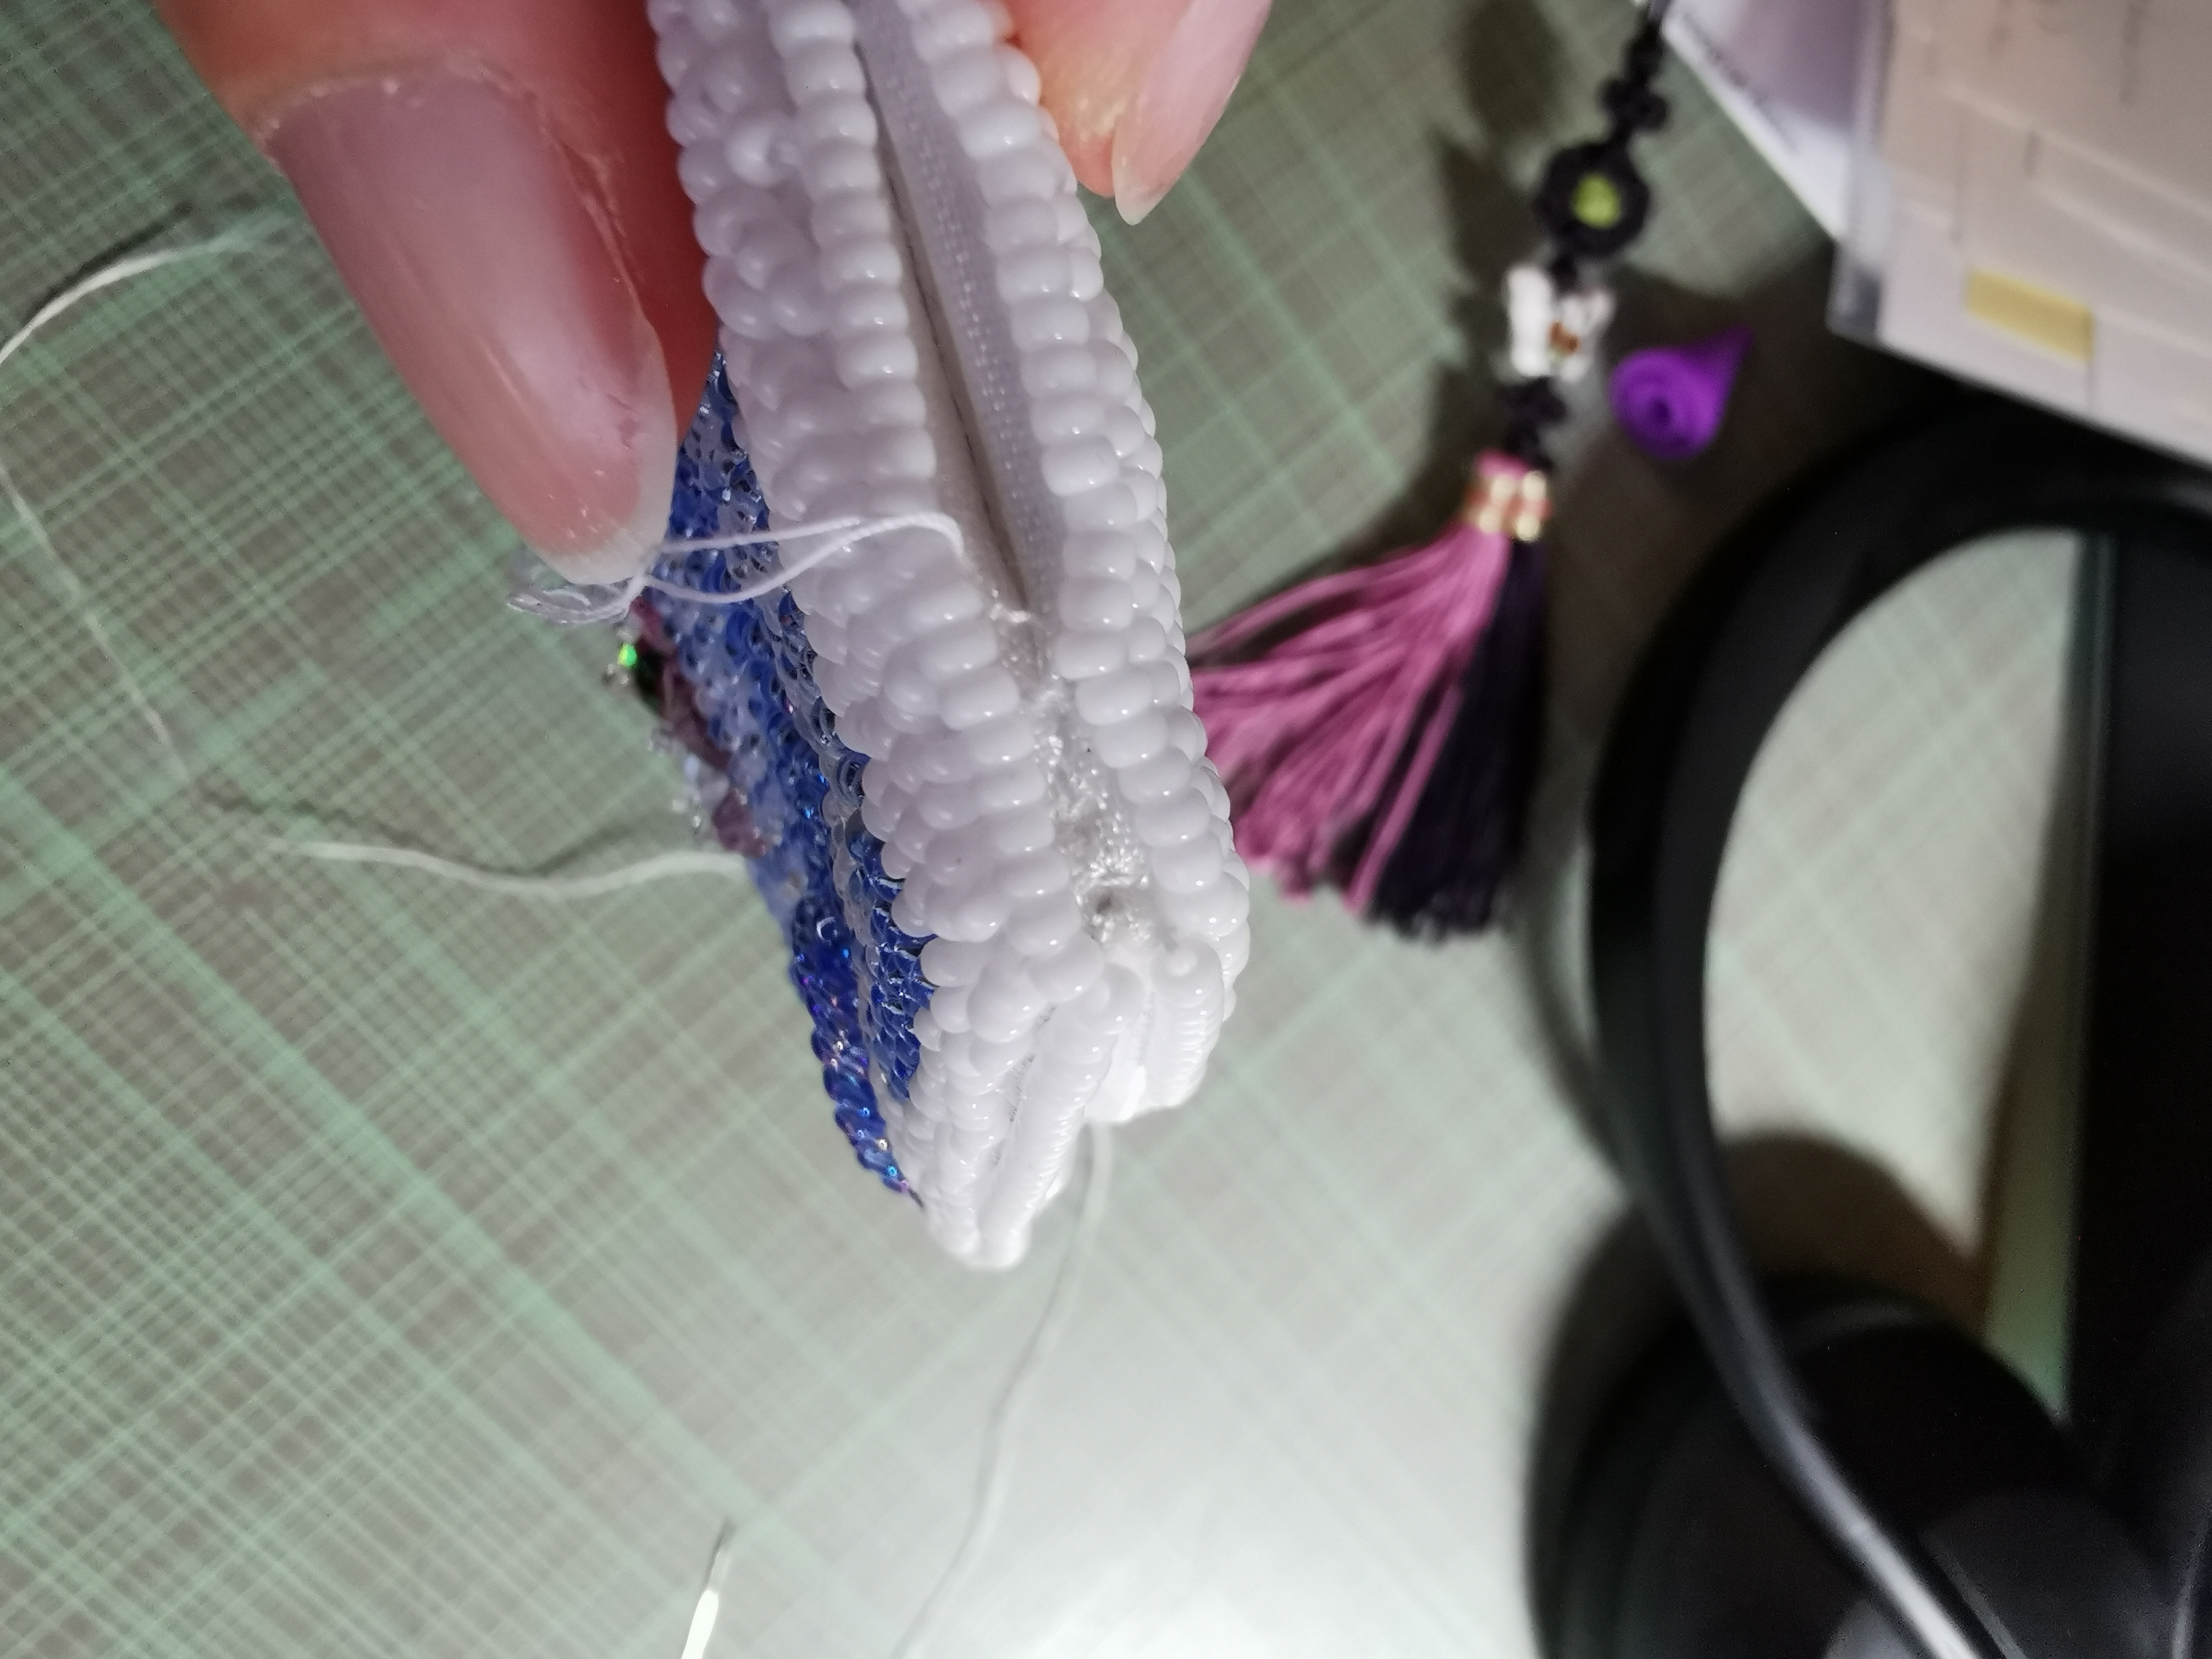
3. The two sides are placed front side out, making sure to match the darts. I used a ladder stitch to sew them together. I tried to make smallish stitches and made sure to come up under the line of beads. It was really hard at the beginning, I have a sort of gap on mine at the top ends but it doesn't bother me too much as it's a learning piece.


I started off using a regular needled before giving up and switching for a circular needle. I should have just started with that, but I find using a circular needle awkward. However, it was really hard to stitch through the fabric with a straight needle, so it just took me a little bit more time to sew.

Here you can see the matching of the darts.


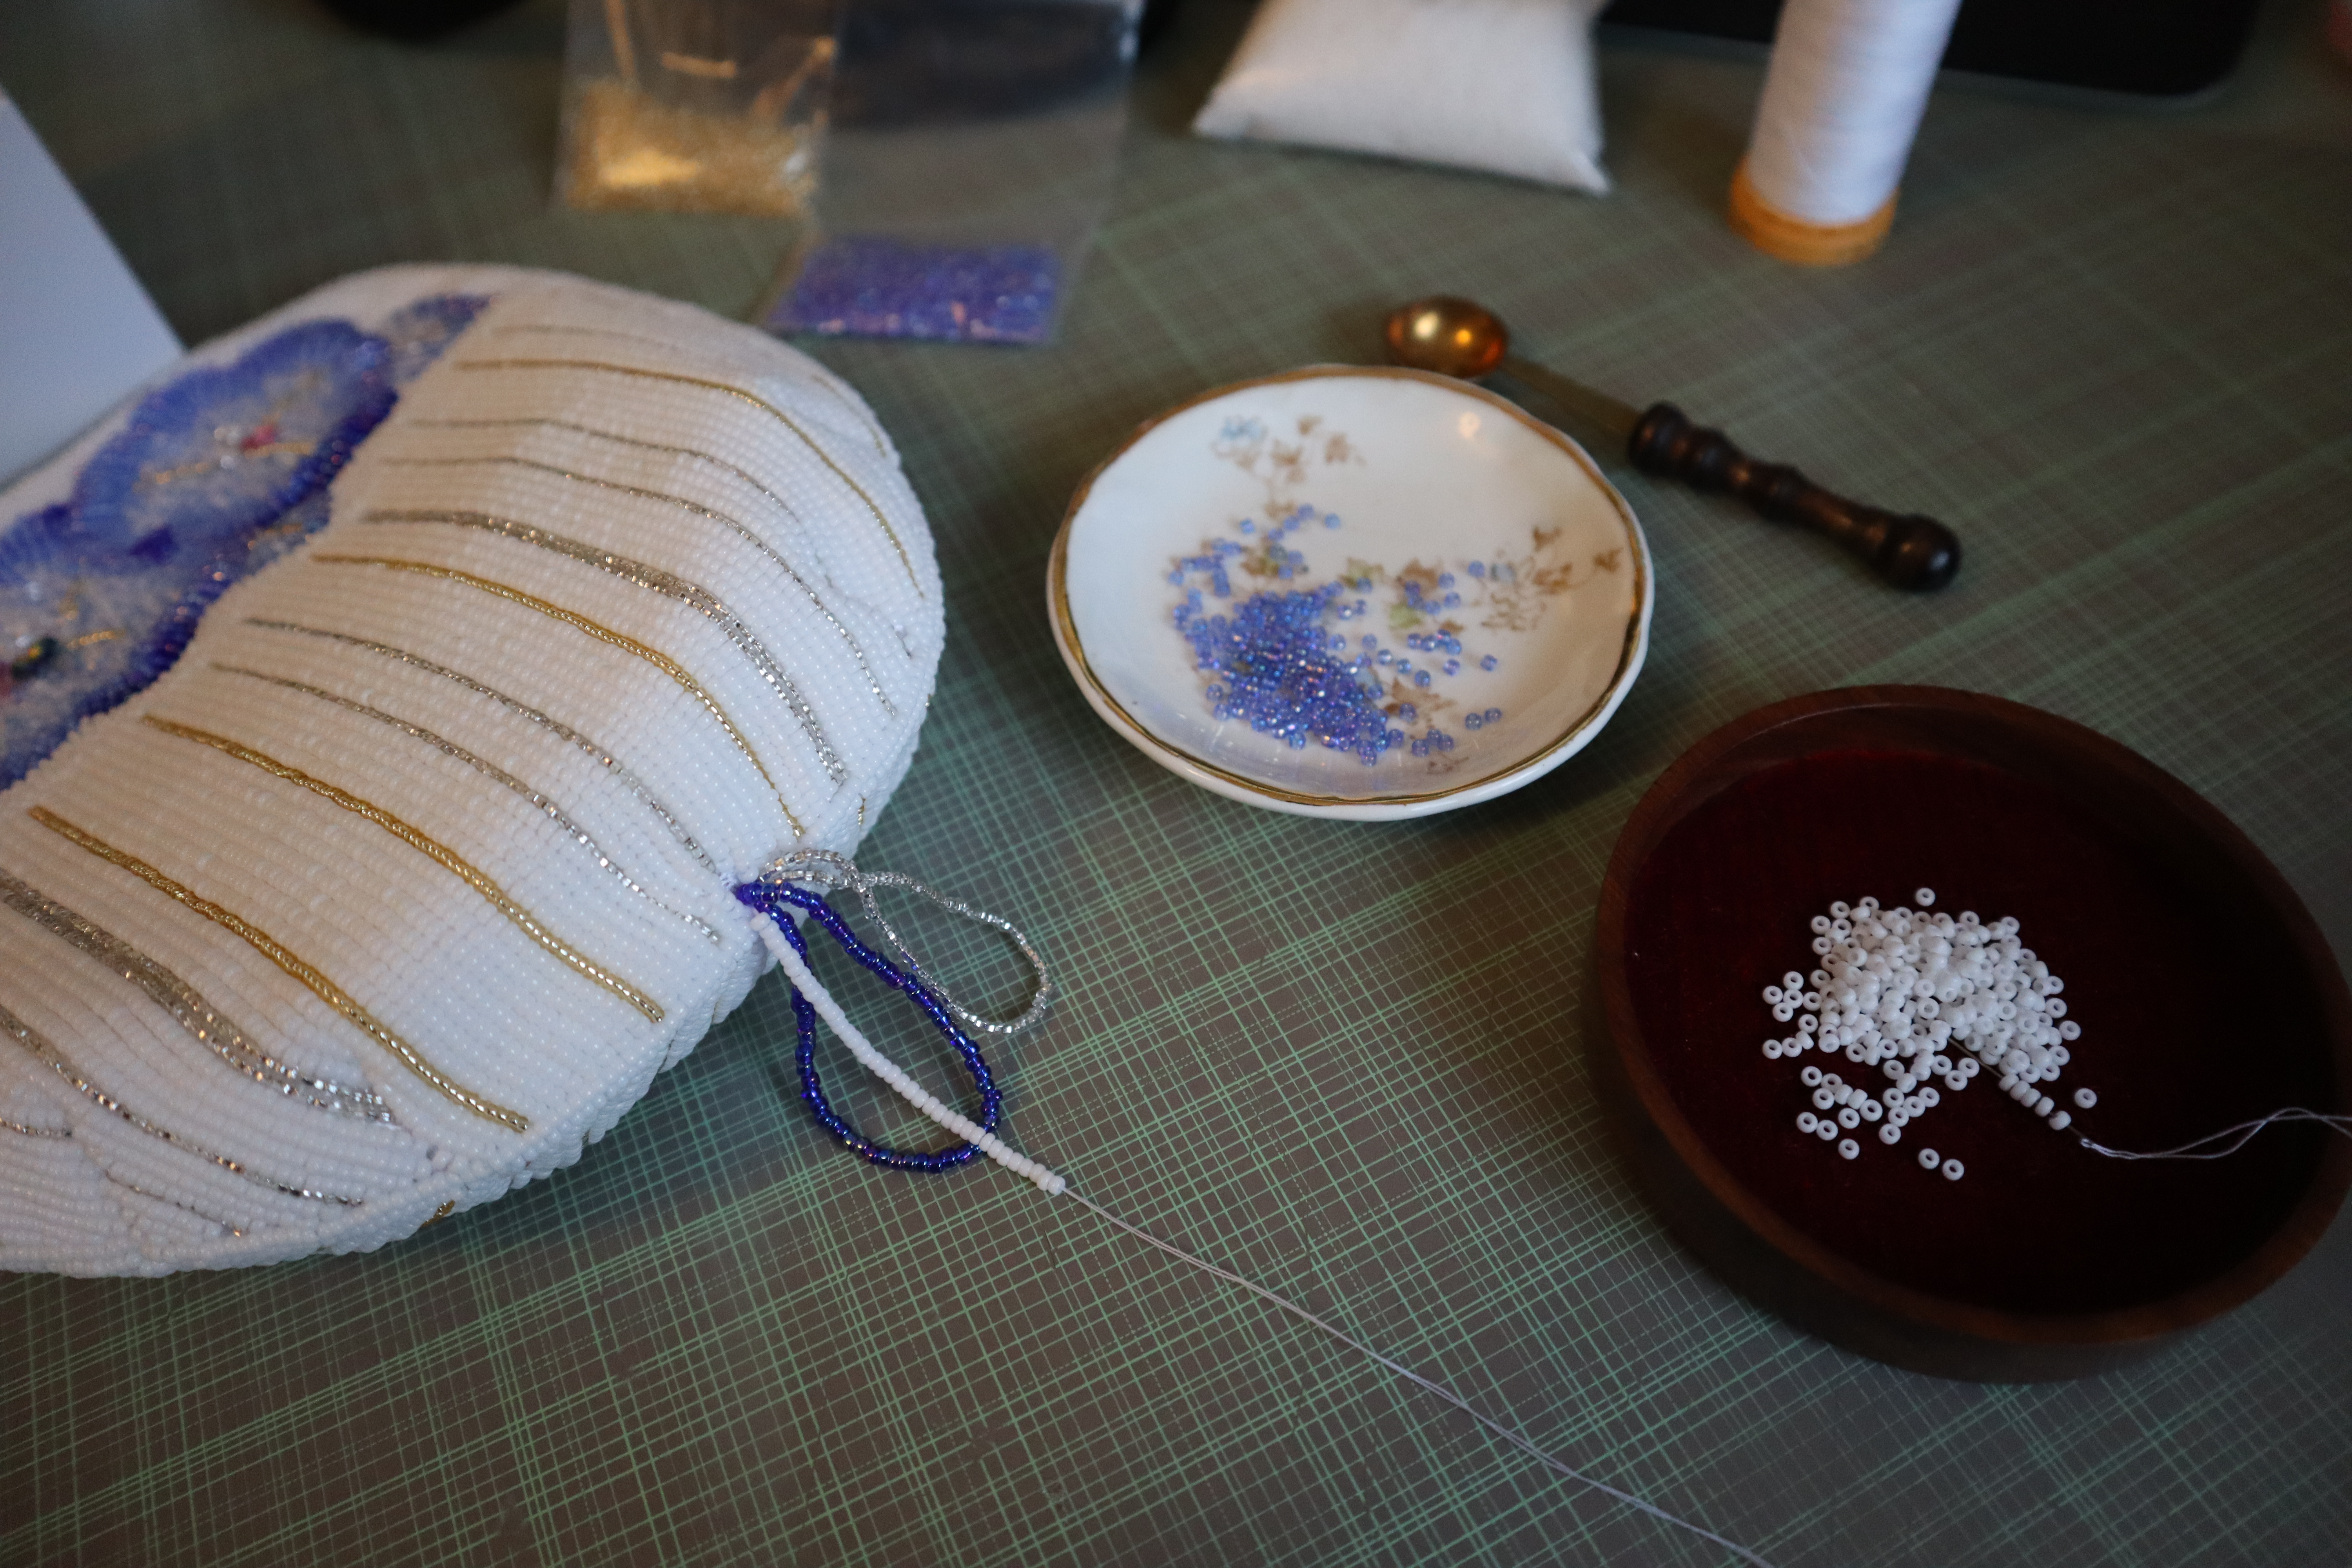
4. At the time when I discussed the tassel with my teacher, the plan was to put in the tassel when I reached the halfway point. I'm not sure what happened, if I got distracted or forgot, but I ended up doing it after I sewed the pouch. Here, I used a needle with a doubled thread. I started with a knot and a few small stitches to secure my thread and started threading beads to form the loops to make up the tassel. 

I had to do this twice as the first time, I wasn't careful and ended up with a knot inside the pouch that I couldn't find. Great it won't be visible since it's inside! What happens though, is when I pulled on the loop, suddenly the knot came undone and I had a too much thread showing. I ended up removing everything and restarting from scratch. This time going slowly and making sure to pass the needle from one hand to the other and making sure the thread is taught and has no chance of tangling.

Extra note: Each loop has about 10cm worth of beads on it before it's folded and there is a tacking stitch between each loop to ensure they are secured.

With this the outside of the pouch is completed. In the next post, I will show how I put together the lining and attached it to the pouch.

Thursday, June 9, 2022

Poppy Pouch - Finishing part 1

Today will start a series describing how I finished my bead embroidery into the pouch. I received a document from my teacher with instructions on how to do the finishing and I used my experience from past projects. I'm sharing my process in the hopes it will help other stitchers finish their own piece as not everyone is comfortable doing this type of work on their own. When I can, I will also put in notes of what to look for or things I would have done differently if I was doing this again. So let's start.


Before we can take the embroidery off the frame, we need to investigate the back.


No matter how good a stitcher you are, there is always a chance you will have loops, knots or loose threads as the cotton sewing threads tends to tangle. I looked for them and put in little pin head stitches to tack them down. It's important to be careful that the tacking stitches doesn't show at the front.


Once the back is nice and neat, l sprayed the back with water until the entire piece was wet. With my hand, I rubbed the water into the threads to make sure it's well absorbed. I then left the piece to dry thoroughly.

Note: if you do the clean up of the back beforehand, you can wet the piece early in the morning and leave it in a patch of sun. It will be nice and dry by the next day to take off the frame.


Finishing the back of the bead embroidery:

1. Before cutting out the sides, I marked the fabric, using a blue pencil, around the beaded pieces to leave a 1 cm seam allowance.

2. Once marked, each piece is cut out. Note, the darts are not cut. Not shown below (but can be seen in the next step), the curved edges are clipped about 1/2cm into the seam allowance. These cuts will help fold the edges later.


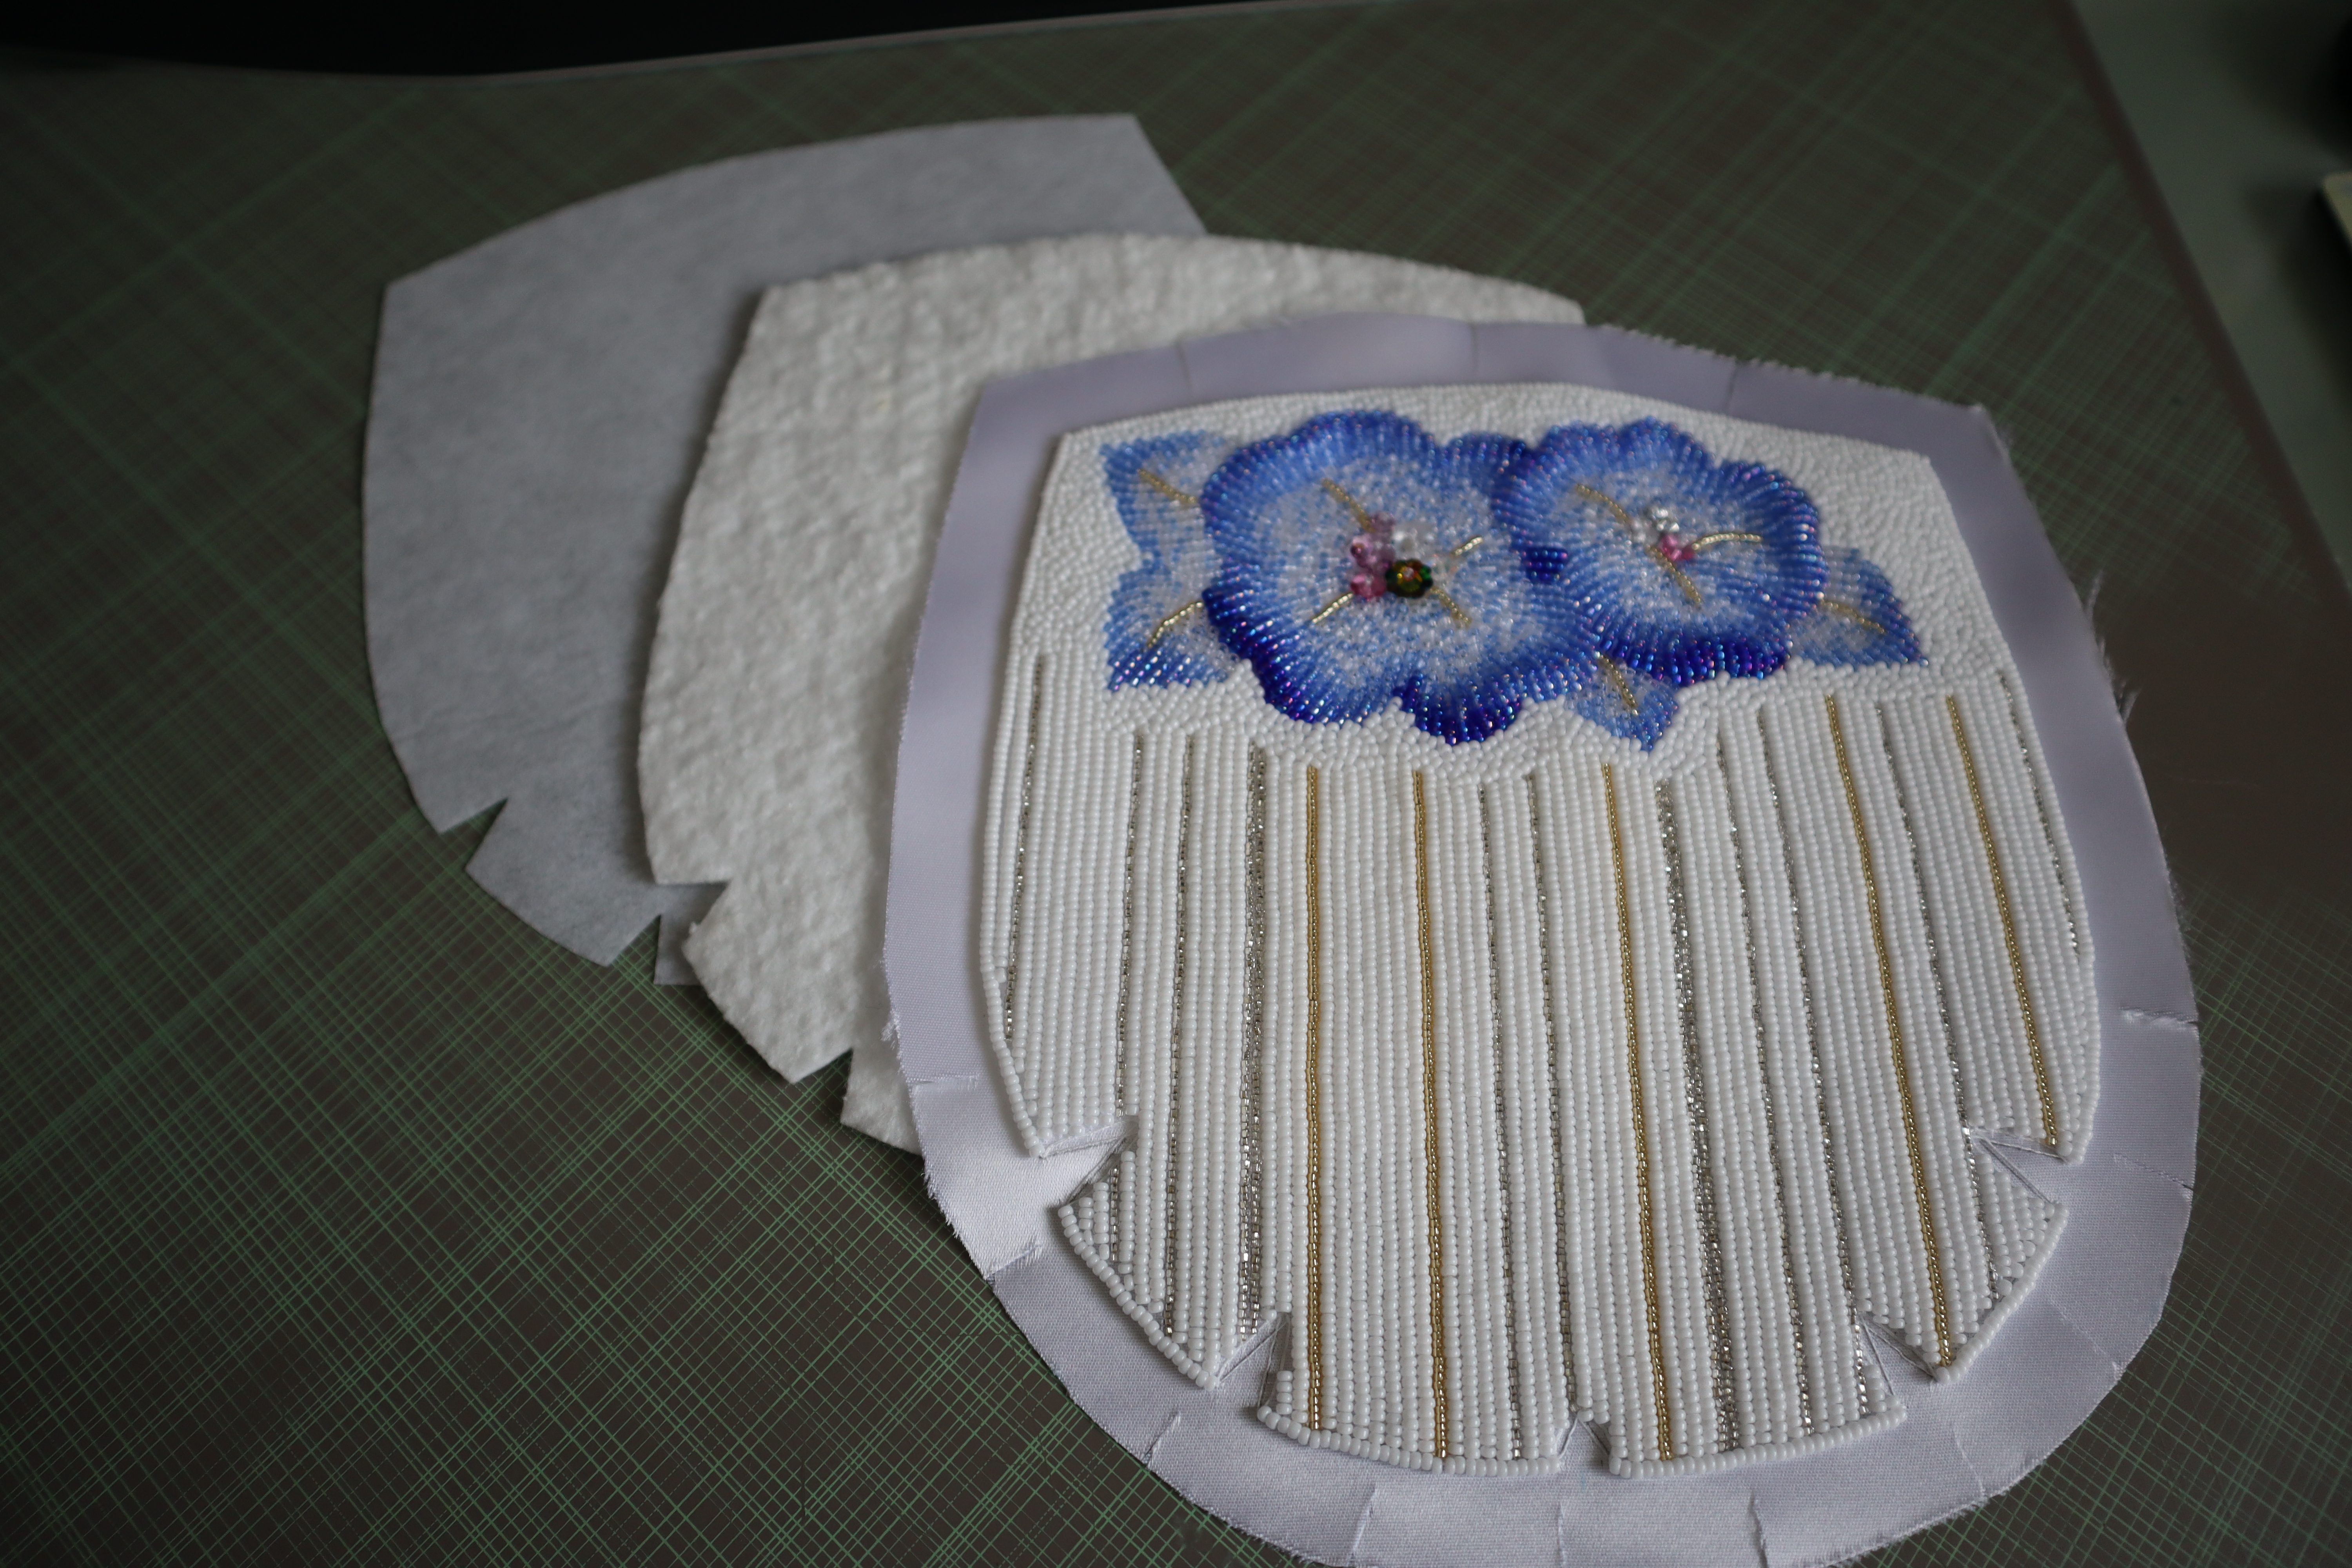
3. I used the paper pattern to cut out a piece of cotton batting and a piece of thin iron on interfacing. Two of each will be needed to complete the pouch. Note, here that the darts are cut out for the batting and interfacing. 

Note: despite the paper pattern, you want the batting and interfacing to be much smaller than the actual beaded piece. The batting takes up more space, so it should be smaller than the interfacing. This will help later to stitch the darts.


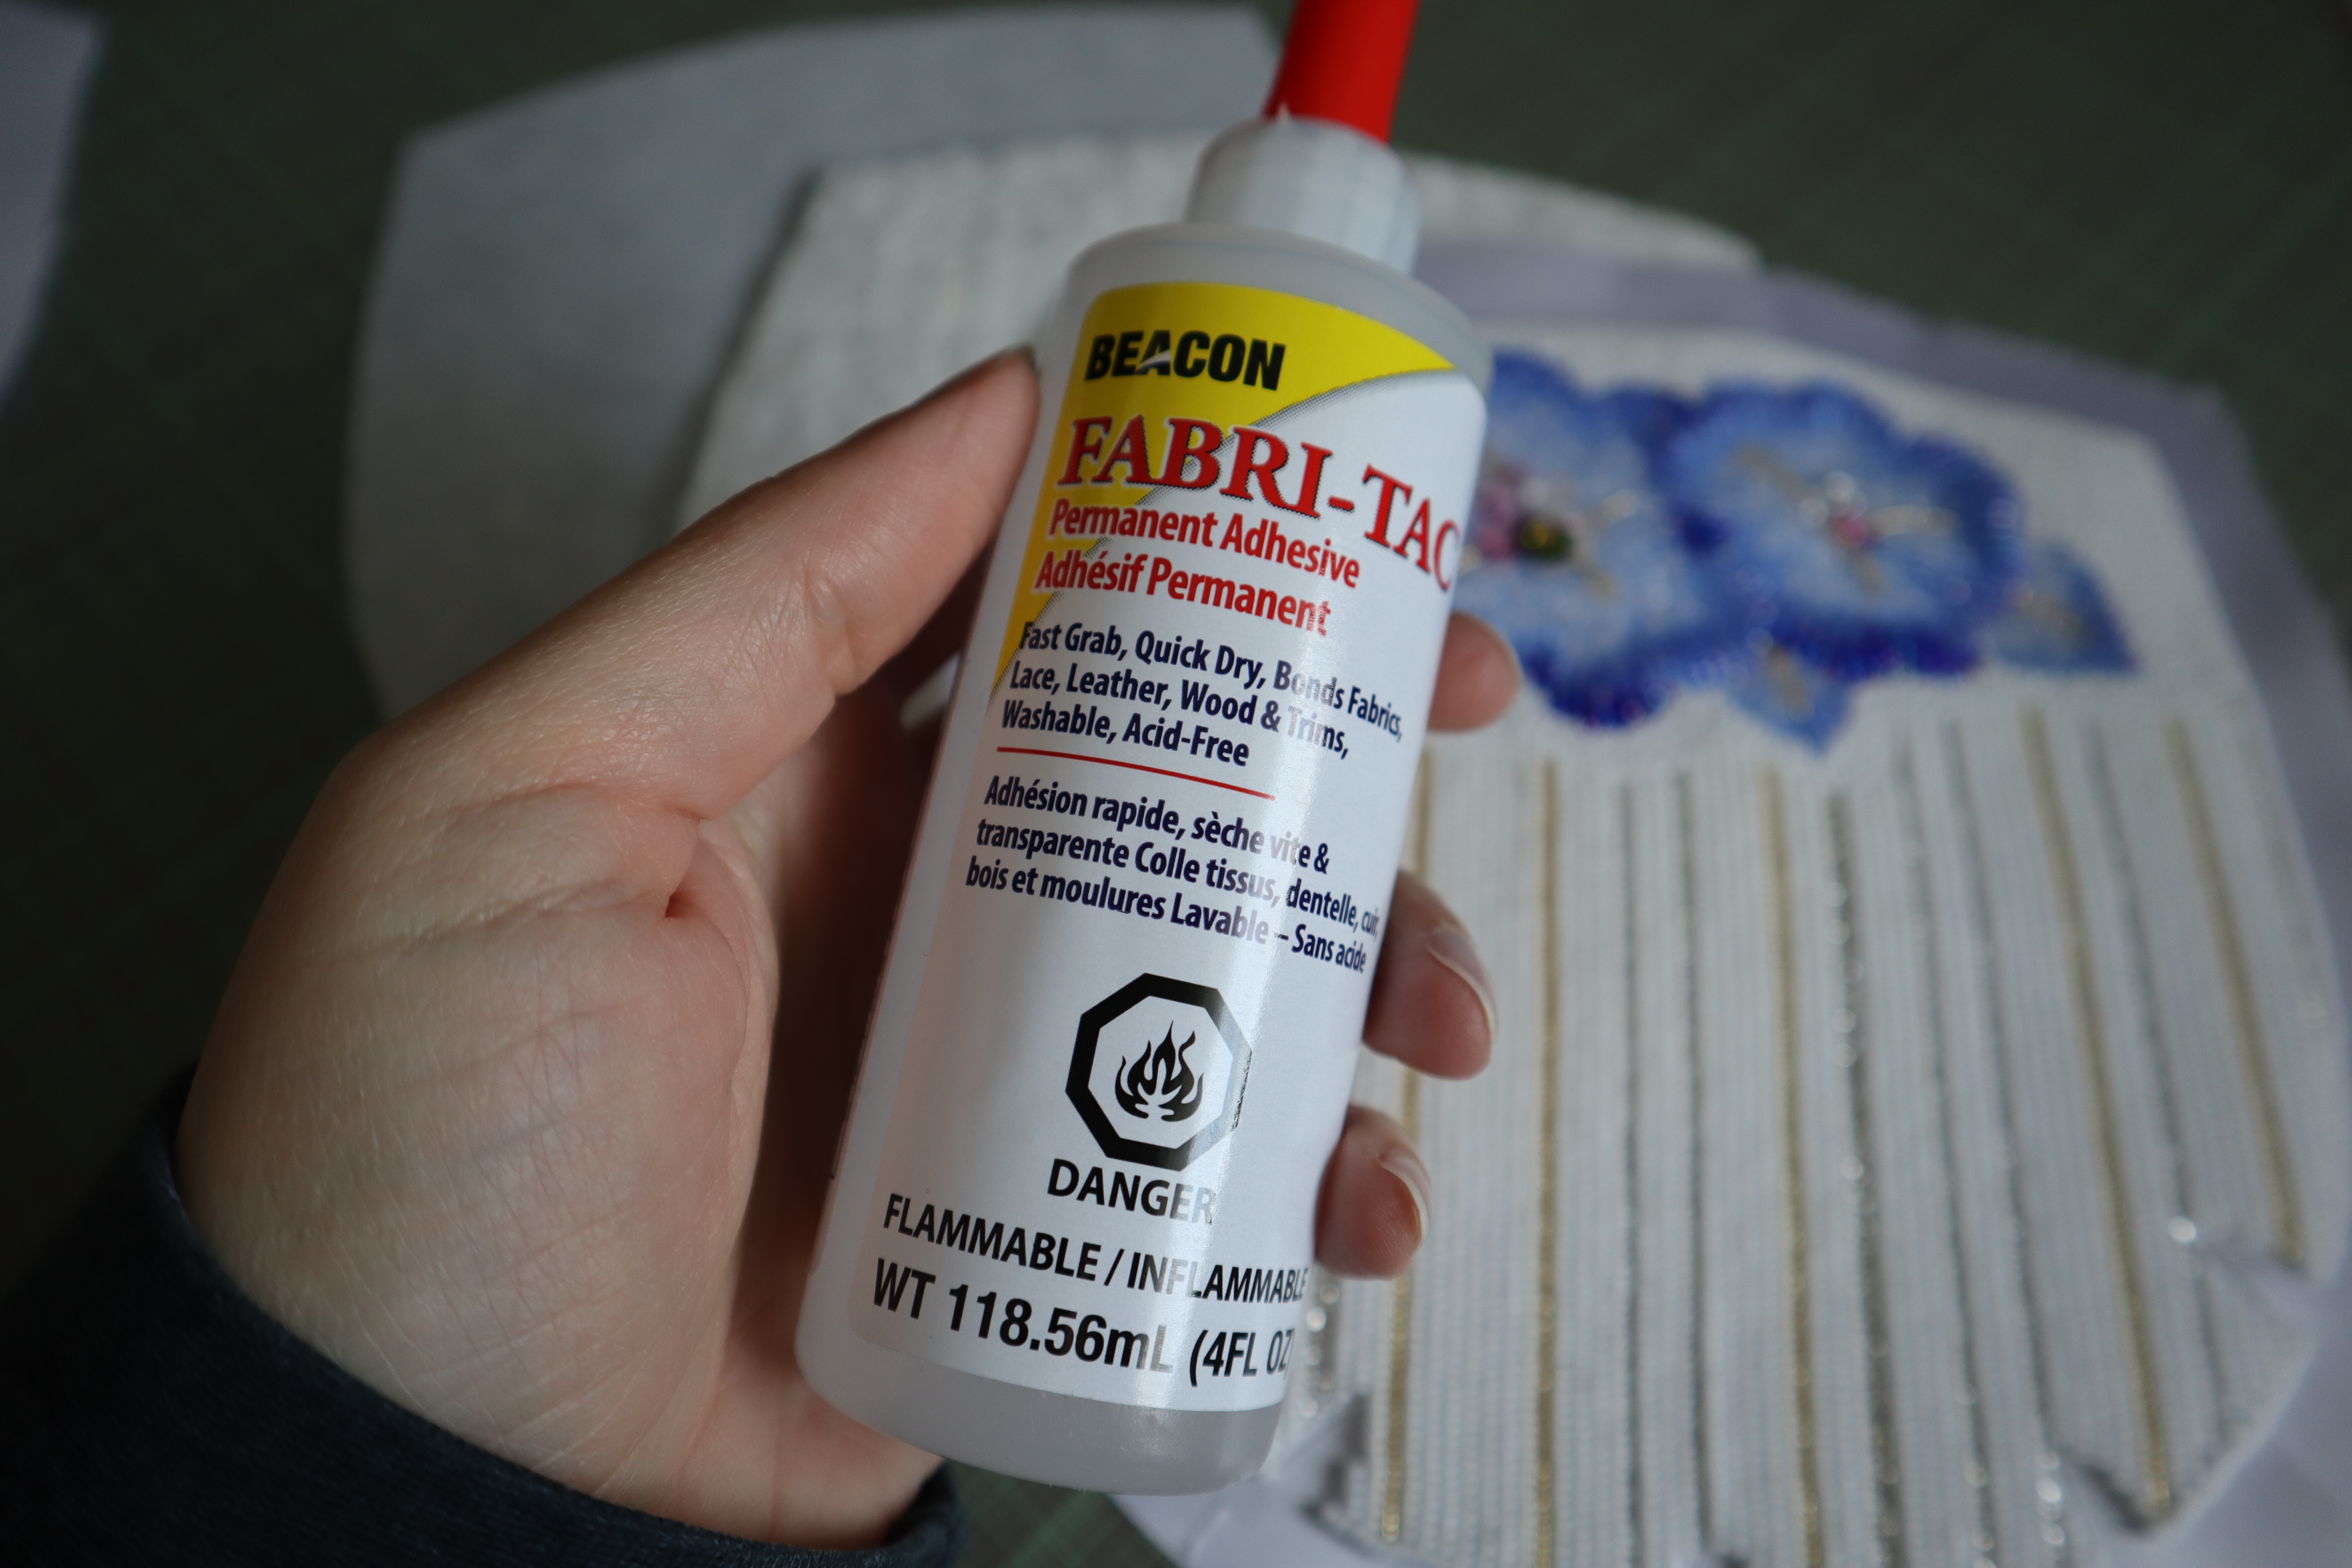
4. In this step, I used fabric glue. I placed the batting on the back of the beaded piece and applied glue to the edge of the seam allowance. The edge was folded inwards, making sure the fold is as close to the beading as possible. We shouldn't see the fabric from the front. I used fabric clips to and set it aside to dry.

Note: whenever applying glue, try to keep it to the edge. If there is any glue near the fold, it will make sewing through the fabric harder when putting the sides together.


Here are some things to look for in a glue:
  • it has to dry clear
  • it needs to be flexible when dry
  • look for acid free, which is not the same as non-toxic. Acid free means it will not yellow with age
  • I've used craft glue in the past, book binding glue, if you can find it, has all the qualities I noted above
5. Once the glue dried (this particular glue dries fast), I took out the clips and ironed the back to press the edges down.


6. The last step to finish the back of the bead embroidery, is ironing the interfacing. This not only gives the embroidery body, but "seals off" the entire piece.


Both sides are treated the exact same way. In the next post, I will show how the darts are sewn and the two sides stitched together.

Friday, June 3, 2022

May TUSAL


This months TUSAL is colorful but covered in fuzz. I'm going to enjoy the colors as much as I can in this coming month as at the end of June, it will all be gold and black. I can't wait!


Monday, May 30, 2022

Mr. Frog Came to Visit

This weekend I had a visit from Mr. Frog. I'd been working hard on Grace for the last two weeks and made great progress. I put in the short stitch holding on the kimono and was getting the majority of the foundation done.


I had some doubts but thought I was doing well, until I sent a progress picture to my teacher. See, I put in all the short stitch holding on the green foundation but there were a few areas that didn't look quite right to me. I figured maybe it was because of where I put in my temporary holding stitch.

You'll have to click on the image to get a bigger picture but you can clearly see my short stitch holding. These should sink into the foundation and become invisible. After discussing it, it was decided that I should take it out and see if it was doable without damaging the foundation.


The frogging happened from the back. I was never so grateful of how picky (and anal) I am with my stitching. Because I put in my stitching consistently going from left to right, it was very easy for my to remove all the stitches (including knots).

Since I was there, I decided to also take out the short stitch holding on the upper part of the body. Being a picky person, I knew I'd end up redoing it anyways as I wasn't a 100% satisfied of it either. It took all day but I'm happy to say my foundation is still good and I'll be able to make a second attempt. We had a nice group discussion on how I can do a better job, and here's a few things we decided:

  • my temporary holding stitches will be put in 5mm apart (I initially had them at 8mm)
  • short stitch holdings will be 1cm in length. I initially had them at 8mm but I think the stitches were too short, making them more angled than they should be
  • there will be at most 3 columns of temporary holding stitches on the narrow part of the kimono
At the end of the day, I had enough time to start the temporary holding stitch.


Since Mr. Frog was visiting, I decided to extend his stay for one more day to work on the Contrast Color Wheel. Remember that weird green? It turns out the color was right but it was in the wrong section. After reaching out to Jen Goodwin, we quickly realized I had an extra green.

I really should have listened to my instincts. The lighter green looked nothing like what it should in the image but I figured maybe it was lighting. This meant I needed to remove all the light green as well as the darker green.

The unpicking although not fun was painless as the back of my work was neat. I could remove some areas without disturbing what needed to stay in.


I spent all of Sunday unpicking, with a little bit of time at the end for some stitching.


So after a whole weekend of unpicking, I was quite happy to see the back of Mr. Frog and I hope I won't get another visit for a long while.

Thursday, May 19, 2022

Switching Gears

While waiting to hear back from Jen Goodwin on the Contrast Color Wheel, I needed another counted project to work on when I didn't want to do something complicated. I decided to pull out the whitwork sampler. 


It took a while for me to complete the fifth band. It's more complex than the previous four and I only pulled it out every once in a while. Usually for evening stitching with the guild.


I took the opportunity to take a picture of the overall piece. My fabric is all wrinkly as it's been on q-snaps for months. I think this is my favorite motif to date.


I'm still writing the posts for how I finished the Poppy Pouch. It will be in three posts, I have two completed and I'm procrastinating on the third one as I still need to take pretty pictures of the finished product. I need my sister to take the pictures for me but so far the timing hasn't been right. I'm hoping I'll have them by next weekend.

Monday, May 9, 2022

Color Wheel Progress and Hickup

Since I posted the image of my ORT with all the colors, I figured I should share an update of my contrast color wheel.


Once the big blocks were completed, the smaller hue areas took next to no time to complete. It took more time to weave in the ends than it did stitching the areas.


I'm looking at the overall piece and I'm finding that blue-green color (the one between the green and dark blue) really jarring. I can't help but feel like I have a mistake... So I reached out to Jen Goodwin and she confirmed that there is a problem. I'm waiting to hear back from her again, but there will definitely be some unpicking in my future. For now, it's all the light green in the top block and lower block (where the red is the dominant color), as well as the weird blue-green blocks.

Thursday, May 5, 2022

April TUSAL


Look, a TUSAL report not covered in white! Ramadan was tough but not as tough as previous years. I did do a little bit of stitching, the majority of it on the color wheel, but I also got busy doing the finishing on the Poppy Pouch. The finishing is almost done and I will share my process soon. Hopefully, it will help another stitcher finish their own one day.