Tuesday, September 27, 2022

2022 Lakeshore Exhibition

Two weeks ago we had our exhibition. This normally occurs every two years, but due to COVID it's been 3 years since our last one. The guild turned 50 last year and since it's a big milestone we didn't want to miss, we decided to do a 50+1 celebration.


Our guild members went all out with advertisements this year. We made the front page of the Montreal Gazette with a full page article in color. You can read the article online here.


We even made it on the local city tv news. My sister came and helped out filming short clips for us as I was busy doing demos.

(click post to see the video below)


Here I am demoing chipwork on the Contrast Color Wheel. I had loads of fun chatting with all the visitors. I even brought my Astrolabe. I'll have to make sure it's framed for the next exhibition.


I submitted a few pieces to the show. I realized as I was going through my finished pieces how many need to be "finished". I'll have to work on that. Still, I'm happy with what I put in.


None of my pieces won anything, but when you see the best in show you'll understand. The quality of stitching this year was amazing!


I have so many media files to get through. I have a video I took of the entire exhibition that needs to be edited and uploaded. I'll share a link once it's ready so you can see the full show.

Thursday, September 8, 2022

August TUSAL


I'm late for TUSAL. I blame the long weekend. Now that the Astrolabe is done, I'm hoping that next month's report will have more color. Although I can't remember where that strand of red/orange came from. 

Ove the long weekend, I've framed up a new Japanese embroidery piece in anticipation of a class we're holding in November. Right now I'm mainly doing outline stitches in white (on white fabric) so there's not much to see, but I'll share a picture soon with my color choices. 

I've also been working on the Contrast Color Wheel, putting in the metal thread portion of it. I'm trying to get it to a state that it would look nice for observers as I'm doing demonstrations at our local guild exhibition. 


Please come by if you're local. I'll be there both days but demonstrating on Saturday between 10am and noon. I'll also have a few pieces entered in the exhibition. Sadly not the Astrolabe as it won't be framed in time, but there will be lots of other pretty things to see. For those not local, my guild is putting together a video tour (filmed by yours truly) and it will be shared on social media. I will share a link when it becomes available.

Wednesday, August 31, 2022

Astrolabe - Lesson 7 & 8

As we are nearing the end of August, I wanted to share the last bit of stitching on the Astrolabe so I can start September with a clean slate. In lesson 7, the empty areas on the yellow felt are stitched.


On the outside portion, the area is filled in with couched Japan gold going around. It looks really pretty but let me tell you my fingers were really sore when I was done. The felt is really thick, so I sometimes had to really push in with a needle. It was better to do this part over multiple sessions. Especially the plunging!


The other half, is my favorite. Using another weight of Japan gold, the thread was braided and couched down to hold the pattern. It was a new technique for me and I really enjoyed stitching it.


It really fills the area quite nicely.


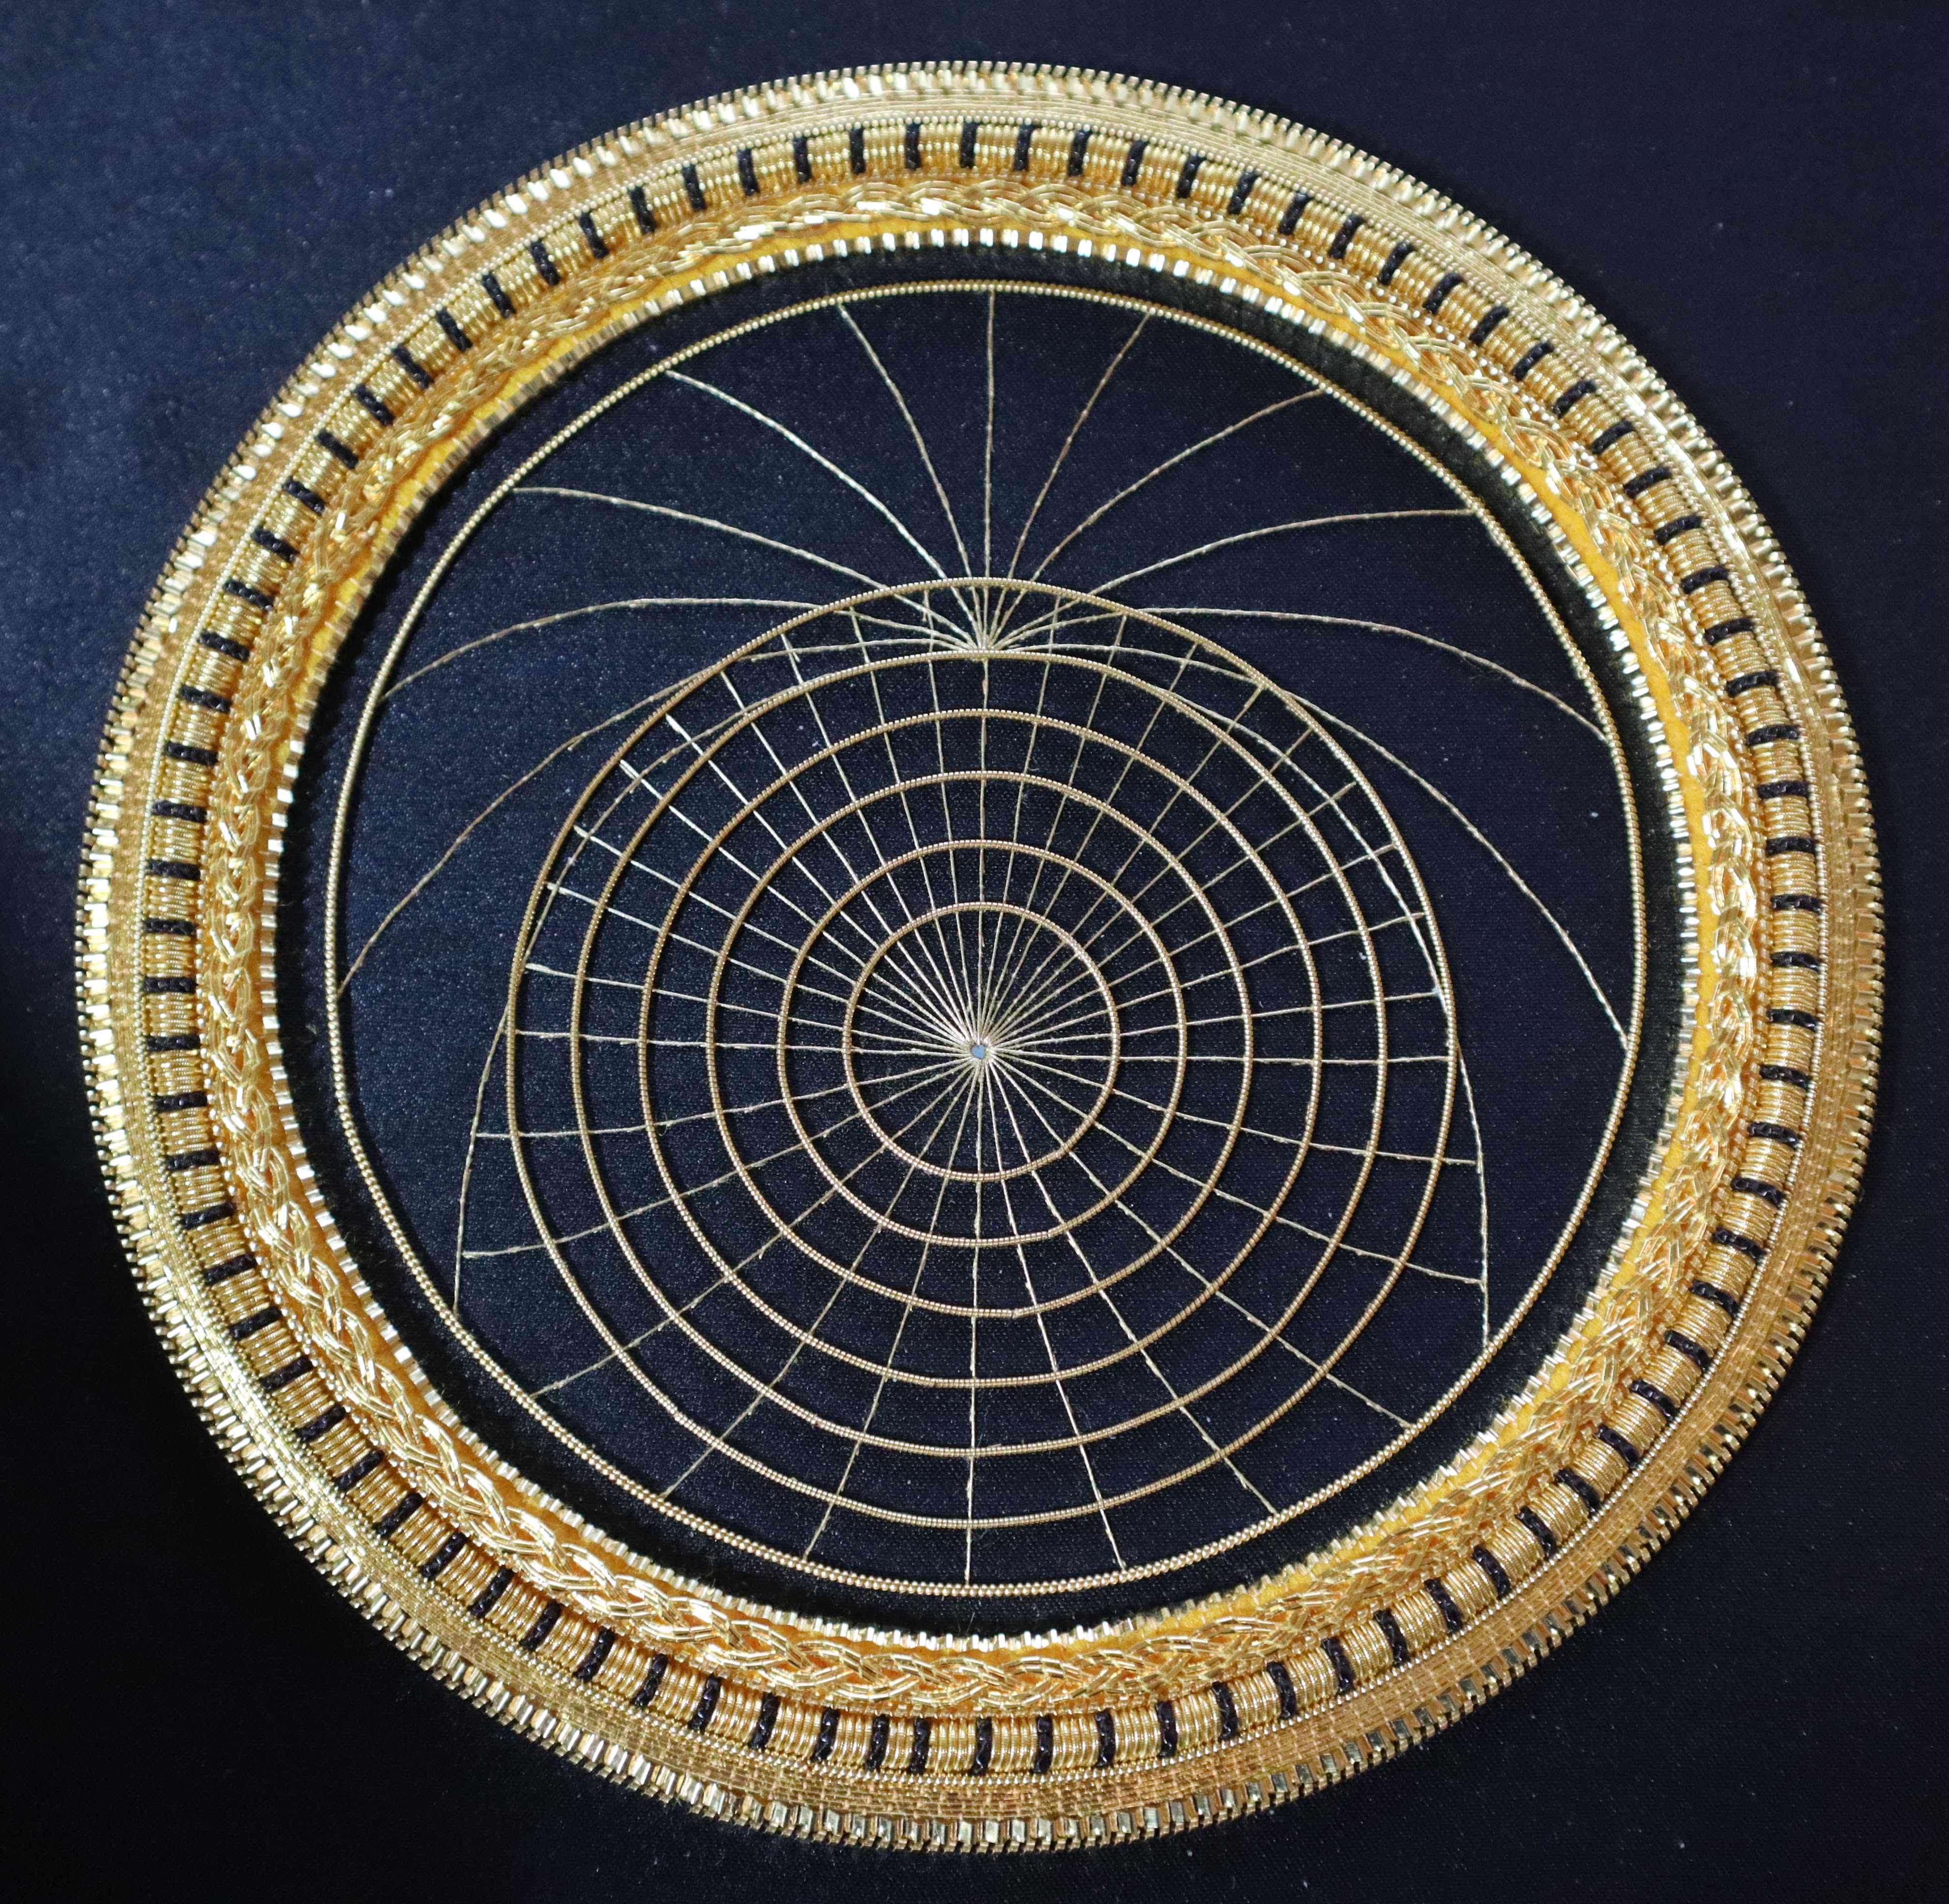
Ta-da! All done! There are areas I'm really happy with and others I wish I'd done better, but I'm really satisfied with it.


Now onto the finishing! In lesson 8, glue is applied to the back of the Rete and Adelaide and left to dry. I did this ahead of time so by the time the embroidery is completed I can just get into the finishing.


The excess fabric is cut away and then with a craft knife, the areas are carefully cut away.


This was fun and frustrating and I had to stop myself at some point as otherwise I would keep trimming. There was always a bit of white that could be cut away.


I have a trick for that. If you find that you can't reach or can't safely trim off the fabric, just take a black marker and color the white. When the entire piece is put together, you won't be able to see the fabric anymore as the black will just blend in.


Here it is all put together. The finishing is done the same way we did on the Mariner's Compass, with a wire going through all three layers and tied down at the back.


With this, the journey ends. It wasn't that long ago since I started the first naval instrument, but it feels like years. The end game was always the Astrolabe. During my trip to Turkey in 2018, I saw an Atsrolabe at the museum and thought that would make an amazing goldwork project. Imagine my surprise when Cythina Jackson posts her goldwork Astrolabe. Using what I learned in this class I hope to stitch it one day. One day... I have a lot of projects I'd like to stitch on my wish list :)

(click on the post to see the video below)


Friday, August 26, 2022

Astrolabe - Lesson 5 & 6

The rest of the lessons on the Astrolabe cover the stitching of the plate and final shape of the casing that would contain it. This is embroidered on black fabric with white cotton fabric for backing. I started with only stretching the white fabric and transfer the design using a chalk pencil.


Once that's done, I stretched the black fabric on top and transferred the lines using running stitch. This is the same technique we had used previously in the Mariner's Compass and Armillary Sphere.


The lines are two weights of gold thread couched down. The circles are made up of couched lizerine.


This is what it looks like by the end of lesson 5. I really love the look of the plate. It would have been really cool if this was a separate layer like a real Astrolabe would have.


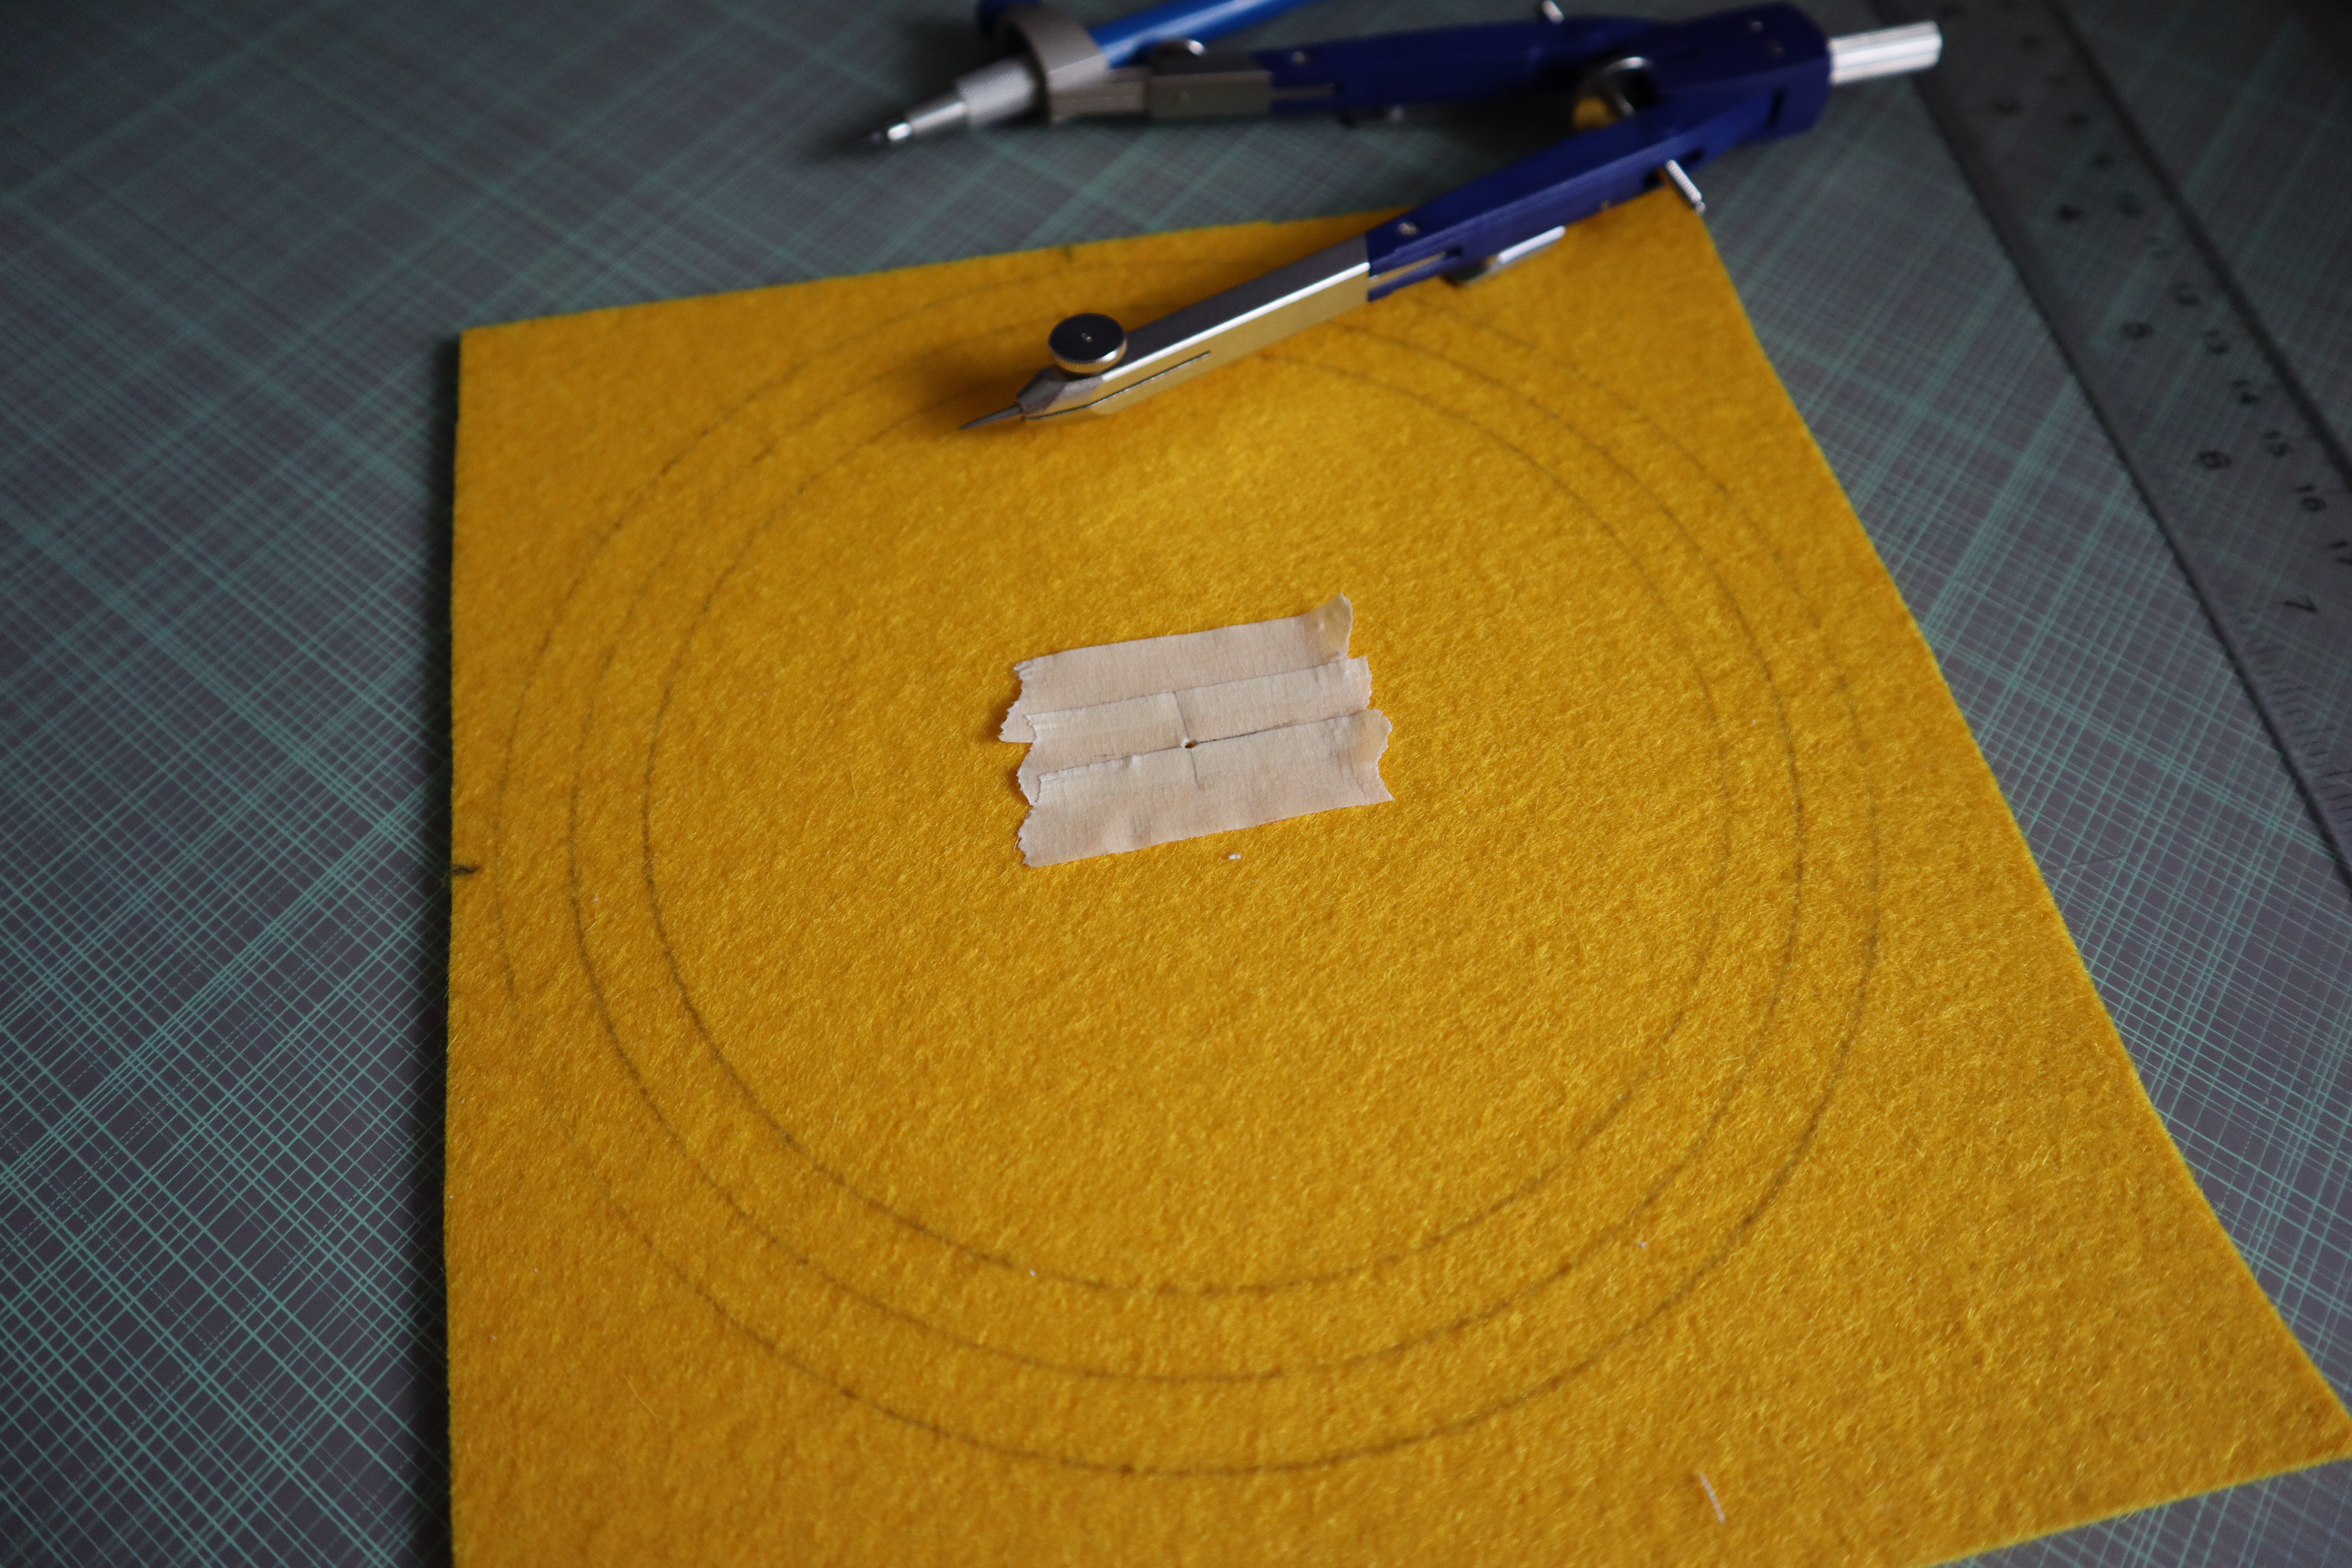
For lesson 6, we began the shape of the casing that encloses the plate. To give it a nice rim, we put in a really heavy felt round the plate.


This isn't the thinner felt padding I've previously used in goldwork projects, but a heavier upholstery felt. I used a thinner needle hoping it would make stitching through it easier.


The inner circle line that is drawn in the center of the felt is covered with string padding. Having done this on the Rete, I did a better job at joining the ends.


Much like the Rete, the string padding is covered in cutwork. This time instead of stitching at an angle, it's put in straight down.


I was crossing my finger the entire time I was stitching hoping to get a complete pattern all around but sadly it didn't work out. The pattern is five gold and one black. If I had known in advance, I would have made one or two random grouping four gold and one black, hoping that by the time I got back to the beginning it would make a seamless join. Those random smaller grouping would be less noticeable than what I have right now.


The last step in lesson 6 is to add a wall to the rim. The inside is covered with plate and the outside in crimped plate.

I'm now midway through lesson 7. I'm hoping to get all the embroidery completed by the end of this weekend. If it works out, all that would be left is cutting out all the parts and putting them together for lesson 8. These are things I can do after work.

Monday, August 8, 2022

Astrolabe - Lesson 3 & 4

 In the last update, I had the center of the Rete completed. Now it's time to wrap it.


Around the center of the Rete is a serpent with what looks like flames coming out of it's body. The flames act as arrows when used with the plate.


To give them a more flame like look, there was gold passing that was couched inside.


These were then filled with chipwork.


The serpent's body is made up of chipwork and cutwork. If I though the bright check chips were tiny, the cut pieces of smooth purl were much smaller. It took a long time to get all that space covered.

I did have a happy accident, what looks like an eye for the serpent is actually where I ended my black thread when I was outlining the body.


This completes the Rete. Fun fact, lesson 3 alone took a little over 34 hours to complete.


While I'm writing this, I'm going to throw in lesson 4 which is stitching the Adelaide. Not a process I enjoyed as I'm not a fan of stitching on kid leather. I always end up with bleeding fingers. I really should get myself a proper thimble and learn how to use it.


Tuesday, August 2, 2022

July TUSAL


As you can see I've been working hard despite my absence. My TUSAL jar is all black and gold and will probably be like that for another month. I just completed lesson 5 (I'm currently behind by one lesson, because it is summer after all), so I have lots to catch you up on. I'll try to post something this week.

Friday, July 15, 2022

Astrolabe - Lesson 1 & 2

It's finally that time! I'm finally stitching the goldwork piece I've been eyeing for over a year. I stitched the first piece in January 2021, I had to look it up because it feels like longer. Cynthia really worked hard to get us to this design ready for us. And believe me we nagged her the entire way lol.

An Astrolabe is made up of many parts: the Alidade, Mater, Latitude plates (plural as a user could have many), Rete and Rule. Cynthia's Astrolabe is made up of 3 pieces: the Alidade, the Rete, and the Mater and plate making up one layer. There is no Rule. I've always been fascinated by this tool and will look forward to learning more about it.


The materials came in two shipments due to manufacturing delays. And there are a lot of them. There are eight lessons total with one lesson dropped a week. Cynthia estimates each lesson requiring 10 hours of stitching. We'll see if that's true. Lessons 1, 2 and 3 cover the Rete.


In the past, the fabric comes with the design pre-printed on the cotton fabric. This time due to the size of the design, Cynthia couldn't print the design for us on her printer. I used a blue chalk pencil and a window to do the transfer. I was too lazy to pull out my light pad.


Lesson 1 involves the overlapping cross at the center of the Rete. It's made up of five rounds and it got really tight as we got to the last round.


It's okay if we went over the blue outline as long as the shape looks nice (the fabric is going to get cut out later) but I did have to go back and trim the first layer of purl pearl in order to put in the last layer of purl pearl.


A picture just because it's so pretty. Fun fact, Cynthia crimped that plate for us using her crimper. Here's a link for you to see what it looks like.


The last part of lesson 1 is filling this pretty tear drop with chipping.


In lesson 2 we stitch the circle that goes around the cross.


And it involved a lot of cutwork. A lot of it! I did it over a period of two days. Alternating between stitching and cutting. They all had to be a specific size in order to cover the string padding and stitched at an angle.


All I can say is it took a long time and thank God for my time spent doing Japanese embroidery. I found that it really helped me in putting in the purl without losing my angle. It's basically a stripped cord. The trick is you always want to come out farther away from the previous stitch than you expect and go in right next to where the previous stitch ends. This helps you keep your angle.


Another thing I'm thankful for is this Lowery stand. My sisters got this for me on my birthday with this project in mind. I love it! It made stitching this project both easier and less painful. Using the clamp, I could easily rotate my frame as I went around the circle and I could quickly spot if I lost my angle.


Another picture just because. That black purl looks like velvet, so pretty against the gold.


The final step is to couch purl pearl all around the circle of cutwork. This really completes it and hides the edge of the cutwork. So if you have one or two that were a little short, it's okay you won't be able to see it.


I'm half-way through lesson 3. I missed a weekend to go help out L'Atelier de Penelope. She had a booth at the Cercles de Fermières du Québec provincial seminar in Saint-Hyacinthe. You can read more about it on my Facebook page. So I'm spending today catching up and hopefully will be done in time for lesson 4 when it drops tomorrow.